
Teaching throughout a pandemic has forced so many of us to rethink what we teach and how we teach it. One of the most challenging things for me to adapt to was that I had a significant library of songs and activities (over 900) for use on my Interactive Whiteboard, but all as SMART Notebook files. I’ve spent most of this year teaching remotely and using those individual files made teaching hard at times. Early on, I decided that I would use grade level Google Slide decks for all instruction.
Working Smarter, Not Harder
So, why use Google Slides? One of the greatest benefits to using Google Slides it is universal across all platforms. SMART Notebook requires software, which is fine, but if you’re teaching from a Chromebook, suddenly your options are limited. Not only that, with Google Slides, I can present the slides in my instruction, but I can also assign the slide decks to my students. That way, students could go through the lesson for an additional contact, practice favorite songs, chant, or movement activities, watch embedded videos, and play games or finish assignments from embedded links. 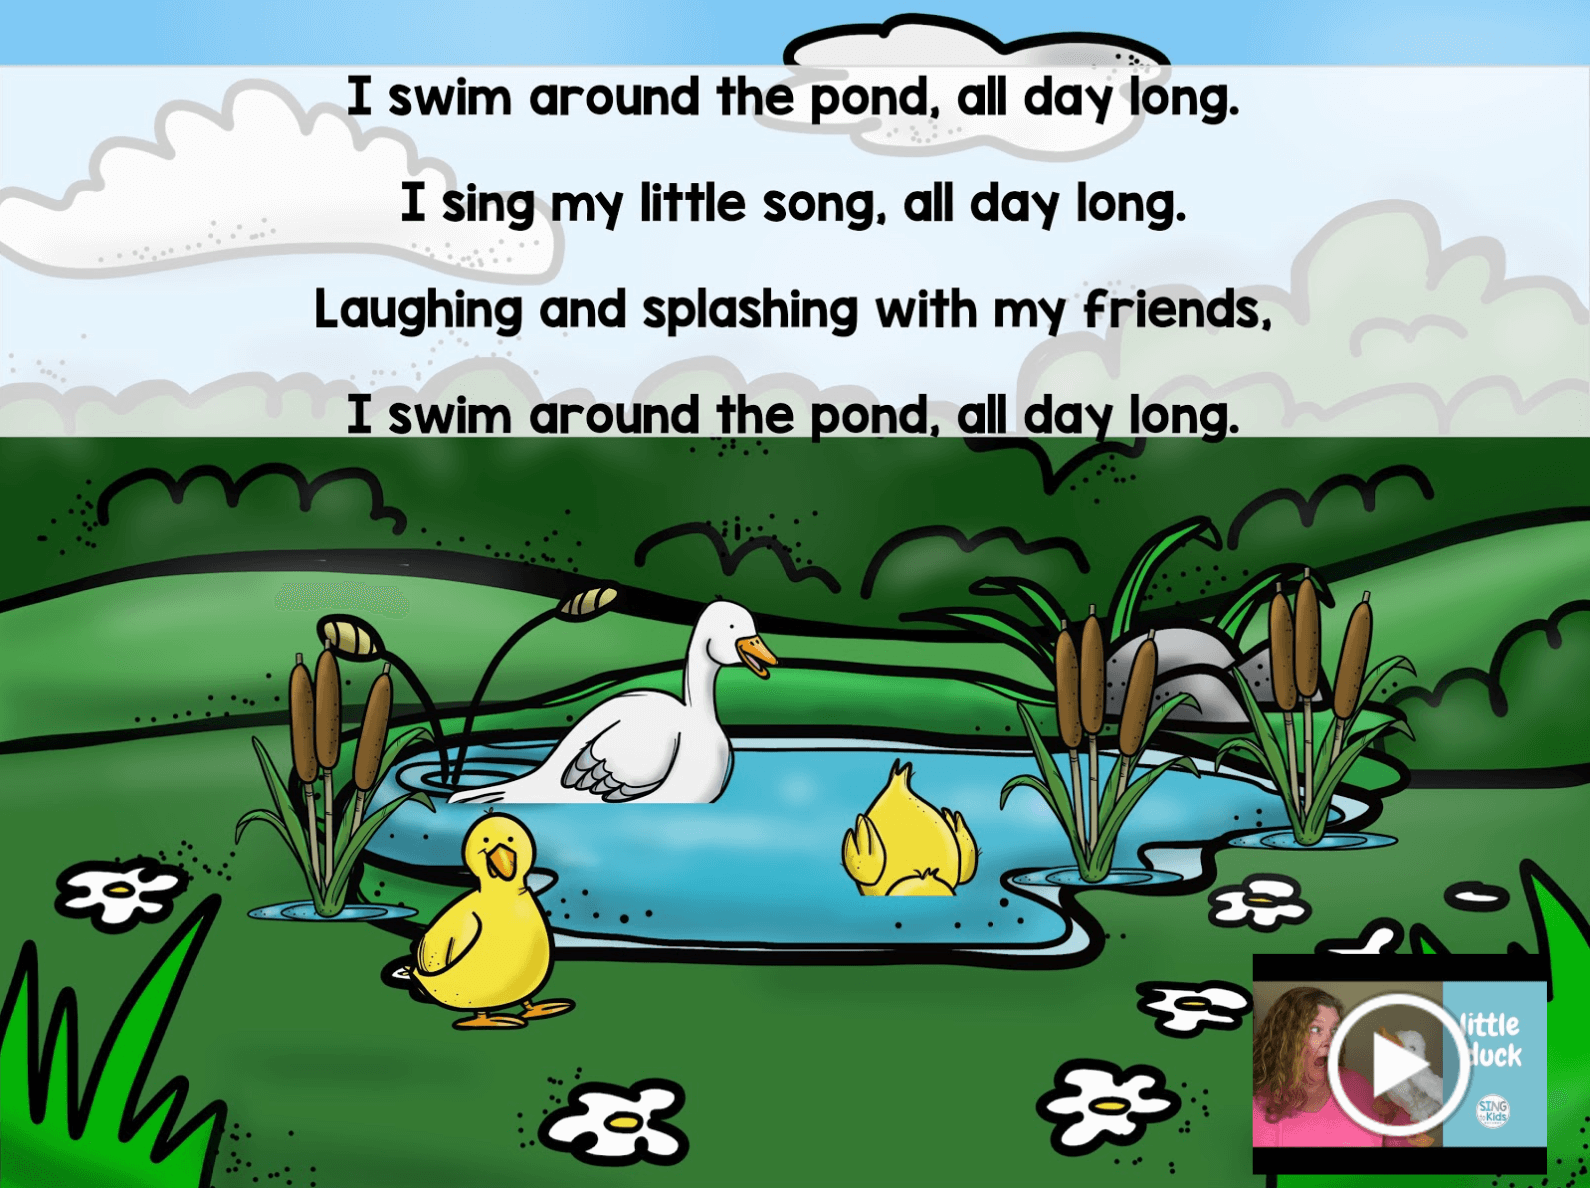
Making Your Slides Visually Engaging
There are many different ways to make your Google Slide deck visually engaging without spending a lot of money. If you shop TpT, you can use your backgrounds, borders, and clipart to dress up your slides. The one downside is that anything you include is “movable.” I actually create my slides in PPT, then export them as jpgs. There’s a great extension – Slides Toolbox, which allows you to import batches of images vs. one at a time. Inserting slides as jpg prevents your students from playing around with the clipart. There are also some great (free) sites you can use for backgrounds. Some of my favorites are Slidemania, Slides Carnival. and Slides Go. Some of those sites also have fun game templates too!
Another way you can make your slides visually appealing is through fonts. If you use the Chrome Web Store, you can shop around for Font Extensions. There is even a Dyslexic font you can add-on for students who struggle with reading! Another site I love to use is Text Giraffe. It allows you to enter a word or phrase and choose from a multitude of designs to insert into your slide deck.
If you prefer a more simple approach, you can simply add a color as a background. Click on the slide, then background, then choose your color. You can even customize your colors by using the color picker tool.
Adding Media to Your Slides
As I have both in-person and remote students, I try to include videos of songs and activities to each of my slides. You can embed videos from your Google Drive or YouTube. To embed videos, click on Insert and click on Video. If I am using a video from YouTube, I will grab the link and insert it. It’s much easier than searching for the link. One of the newer features I love is that you can edit the length of the clip in Google Slides. Once you’ve inserted the video, a dialogue box will appear to the right. There you can decide when the video will start and end. It’s perfect for longer clips or orchestral works where you may only want an excerpt or theme. Not allowed to use YouTube in your teaching? Check out 3rd party sites like Clip Grab, which allow you to download clips into your Google Drive.
Sharing Your Slides
If you’re using Google Classroom, or a LMS like Canvas, then sharing your slide decks is easy as assigning them in an assignment. If you need to share slides with students and you want to force a copy to students, then you are going to need to go to Share in the upper right hand corner, click on share to get a link (make sure the setting is set to anyone with the link), then click copy. When you paste the url, you need to delete all the way back to “edit” and replace that with “copy.” This will force everyone with the link to make a copy to their Google Drive first.
Want to share a slide deck for but force it into presentation? Follow the same steps as above. Instead of replacing “edit” with copy, type “present.” That will force a the slide deck to play in present mode only. Beware – tech savvy students and friends can alter the link, so if I’m sharing a link with copy/present, I always make a copy of it first so the original is protected by me.
Want to export your slide deck as a PDF? Follow those same steps as above, but replace “edit” with export/pdf and the slide deck becomes an instant PDF to be shared!
Looking for More Ideas?
Check out these blog posts!


Agree! After years of making everything in ActivInspire we also had to shift to Google slides. Luckily started that process well before lockdown. (Not gonna lie- it was frustrating all the hours that went into making the interactive slides & having to re-do is frustrating.)
My favorite Google extensions so far:
Mote is a time saver (record quick directions directly on the slide)
PearDeck – pop google slides into it and add questions can assign student paced or Teacher lead. Great way to let everyone participate on the interactives you choose for the slides.
Learning new things all the time!!
I love using Google Slides in the classroom! Thanks for the tips!
Do you accept guest blogs from fellow elementary music educators?
These tips for optimizing Google Slides are super helpful! Thank you for sharing!