In my last blog post, I talked about preparing for your recorder unit. Today, we’re going to talk about all of the things we need to teach the moment the students get their instrument.
Day 1
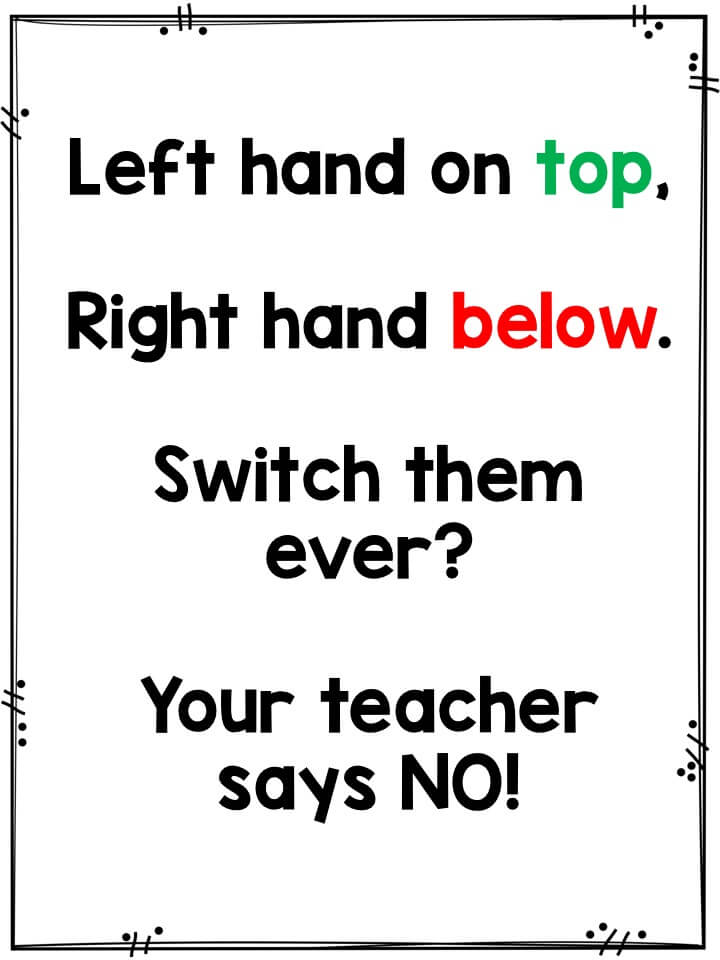
The first day of recorder requires laser-like focus on the part of my students and me. I begin by handing out the recorders to each student, naming the parts of the recorder and identifying the parts within the case (e.g. cleaning rod). From there, we take the “Hand Pledge” that helps us to remember which hand goes on top of the recorder.
Then I begin demonstrating B-A-G, with one caveat: all of the notes are connected to solfege. B (Mi) is our first note. I show them the fingering but instead of blowing into the recorder first, we do something I call “singering.” Singering is singing the pitch while fingering the note on the recorder. We “singer” 4-5 rhythms on B (Mi), then we play. One of the hardest things about playing the recorder is that students often blow too hard into the instrument (resulting in loud squeaks). We talk about using “whisper air” when blowing into the instrument. From B (Mi), we repeat the same process using A (Re), then G (Do).
This entire process takes about 10 minutes from start to finish. Once we know those 3 notes, I begin to singer patterns to students moving from Mi to Re to Do. As we work on our patterns, I begin a sequence that outlines Hot Cross Buns. The students quickly realize that we’re learning our first song. I give them 3-5 minutes to work in small groups reviewing Hot Cross Buns, then we play our first concert for each other before packing up to leave.
(What I Did and Didn’t Teach)
Day one is a fast-paced lesson full of active music making. We spend most of our time learning “executive skills” – the “how to play” the instrument. We don’t spend one moment learning about notation. That will come, but first and foremost, I want my students to learn proper technique and to trust their audiation. If my students learn to trust their audiation, then they will always know to correct themselves when mistakes are made in notation.
For some of my students, learning to play Hot Cross Buns will be challenge enough. For others, learning Mi, Re, Do will be a gateway to all of the folk tunes we’ve learning in music class! It’s why I begin teaching the notes with solfege versus note names. My students spend years singing and audiating patterns using solfege, so connecting recorder patterns to solfege only strengthens and enhances the learning.
Day 2
We review all that we learned on day one of instruction, rehearse Hot Cross Buns, then begin to explore other songs that use Mi-Re-Do. Since Hot Cross Buns uses stepwise patterns, I like to introduce a song that has a patterns with skips next. Closet Key is a great little Mi-Re-Do tune that moves from Do to MI throughout the song. I introduce the song again through pattern instruction, then give students an opportunity to work in small groups again. We end class with small group or solo performances of either Hot Cross Buns or Closet Key. I give time for small group instruction early on so that students have opportunities to practice working in small groups and learning from one another before we get into the heart of our recorder unit.
Days 3 & 4
Again, we review what we learned, then move into new tunes. I feel it important for students to learn tunes quickly as it gives my students a sense of accomplishment. Days 3 & 4 start with a mini-lesson with singering, patterns, and outlining a new tune (e.g. Theme from The Nutcracker March, Mary Had a Little Lamb). As we break into our small group work, students may play their tunes for me individually. The one-on-one time allows me to correct any issues with technique early on. Students who are able to play 4-5 tunes using Mi-Re-Do may help others as experts as well.
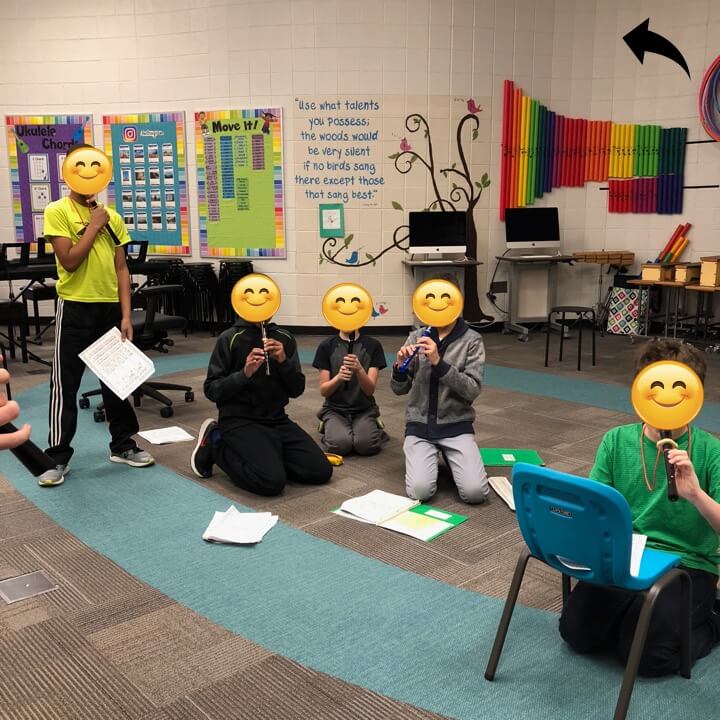
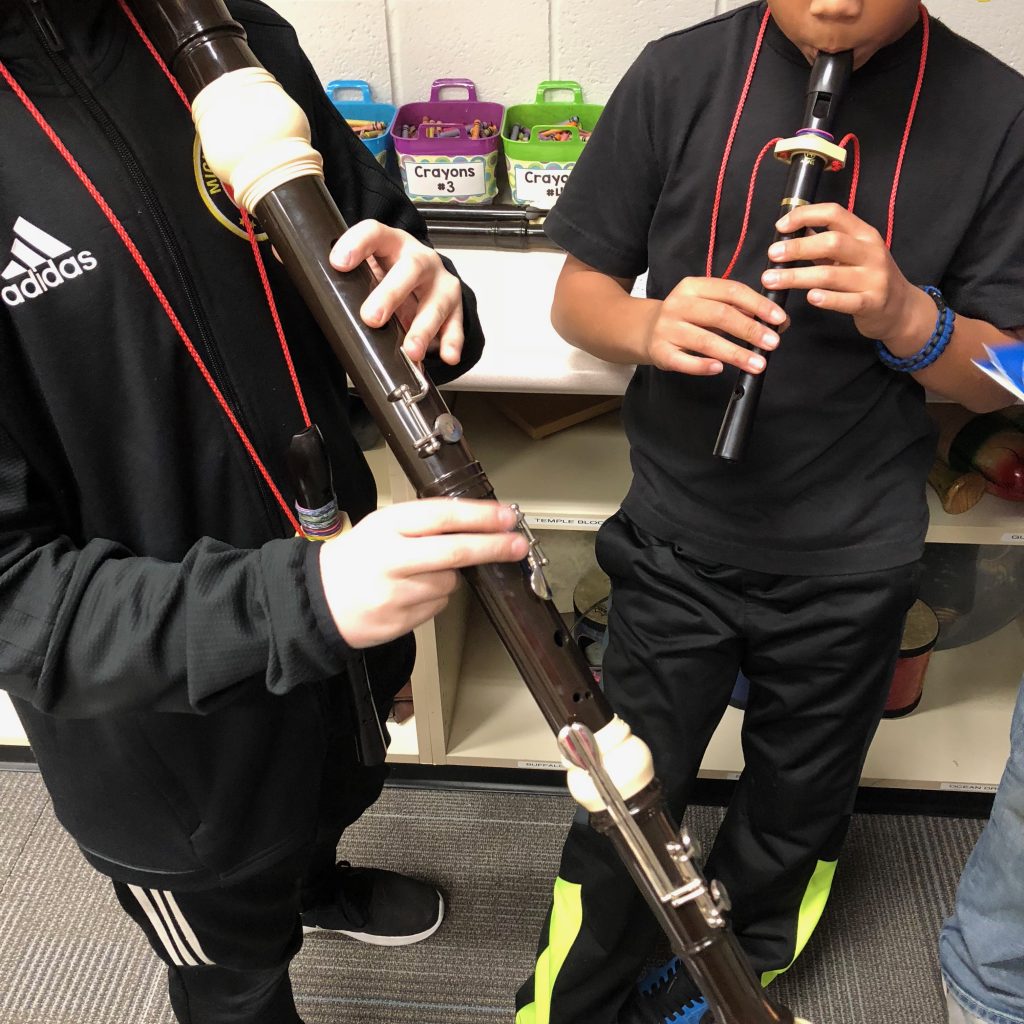
My before school crew! My boys loved coming in before school to test and work with one another.
Days 5-8
You might think this is where I begin the notation, but you’d be wrong! Now that we have “G Do” down, we move immediately into a new Do signature – “D Do.” Why D? Because it engages the right hand and gets students thinking about key signatures. We start the process of Day 1 over again, this time learning F# (Mi), E (Re), and D (Do). We singer patterns using our new notes, then we learn how to play each one. It’s so important to address the issue of “whisper air” again as add fingers to the recorder. Then I model how to play Hot Cross Buns in D Do. Students break out into small groups again learning the same tune in a new Do signature.
Some students will struggle with the new notes, while others will transfer everything they learned in G Do seamlessly. Each class, make time for a mini lesson, singering, then small group work. Use your high achieving students to guide students in small groups, freeing up your time to either hear students play for you one-on-one, or work with struggling students one-on-one. Your high achieving students will need additional challenges for themselves. Showing them how to move songs into E La (minor), or move from Duple to Triple meter, or to play the chord root accompaniments to songs in D Do (using D Do and A Sol). These types of extensions help your students to learn to go deeper into the learning instead of ahead of the learning.
Notation (Finally)
It’s only after we’ve learned 2 Do signatures, 6 notes, proper technique, and learned to trust our audiation that we finally move to notation. Some may see this as wasted instructional time, but I promise you it’s not. Although the adult mind may be able to attend to multiple tasks at once, students need to focus on one new task at a time. Learning how to play the recorder while simultaneously connecting it to notation is two tasks. One ultimately takes a backseat to the other.
Now that technique in firmly in place, we move to adding notation. The transfer from playing from audiation to notation is a pretty smooth one. I begin by showing students the note B on the staff. I tell them that we’ve been calling this “Mi” for a while, but musicians call it B. Notice that Mi and B rhyme? (Recall strategy!) . I show them the note A on staff. I tell them that we’ve been calling this “Re” but musicians call it A. Oooh! Re and A rhyme again! What a coincidence! Lastly, I show them G on the staff. I tell them that we’ve been calling this “Do” but musicians call G. Our rhyming luck ran out, but they will remember the one note that doesn’t rhyme.
Then we review Hot Cross Buns in G Do with notation. We singer it but this time instead of singing solfege, we sing proper note names. Once students make the connection between solfege and proper note names, they get their books.
Creating a Curriculum that Works for You
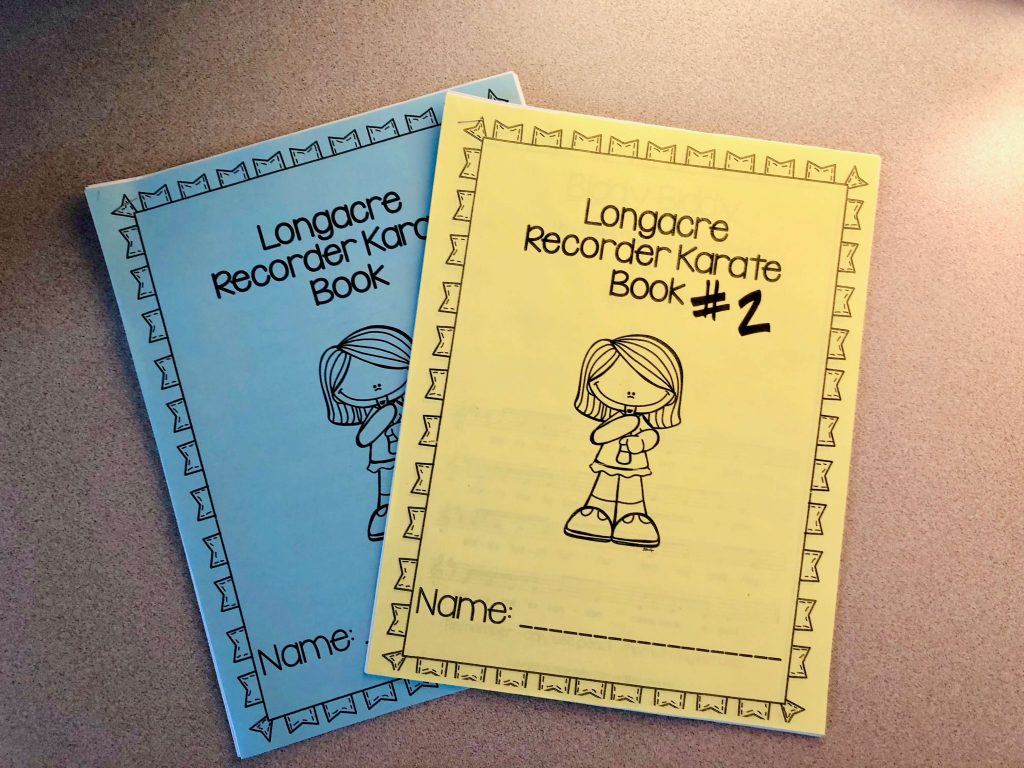
For many years, I tried to use different books for my recorder unit. I found that my sequence was always a bit different than the traditional books, so I created my own book based on how my students learn. I encourage you to do the same. No matter your approach – Orff, Kodaly, Music Learning Theory – no one teaches exactly like you. No one teaches the same songs in the same sequence.
The recorder book I created for my students has a similar structure as Recorder Karate only in that with every new skill mastered, students may earn a belt, but that’s where the similarities end. My students have a minimum of two songs to learn for every new skill. There is always a familiar tune – one we learned and sang in music class followed by an unfamiliar tune. The unfamiliar tune has the same content as the familiar tune, but notes and rhythms may be presented in a different order. This format is followed for the first five belts my students earn, then we move to four song choices. Students choose two to perform for me. One is always a familiar tune, while the other is an unfamiliar tune.
Differentiating Instruction
Not all of my students are going to learn at the same pace. I have students who will finish the book in a few weeks, whereas another student may struggle with the first songs for days on end. How do you differentiate instruction for such different students? For my low students, it depends on the challenge. If a child has an IEP and struggles with reading (decoding text), then I may allow note names to be written in their music, use flashcards with fingerings and/or notes on the staff to help with reading, and find alternative songs for them to perform. I assign them an accountability buddy to work with as well. They meet with that buddy at the start of class to identify a small, achievable goal for themselves. Then at the end of class, they report back whether they met that goal or not. I also pair my struggling students with an accelerated student so that they have someone to go to for help any time they need it.
For my high students, I continue to challenge them to go deeper instead of faster. This can be done through creating harmony parts, learning additional songs at each skill level, composing songs using the content from each skill level, or improvising rhythms over chord root harmony. As we near the end of our unit, I also high achieving students a second book to play from with new notes (e.g. Bb, low C, etc.) and new key signatures or meters to explore. I also allow my high achieving students to try the other recorders within the recorder consort. There are so many ways to accommodate every learner in your room. If you’re looking for some materials for differentiation, check out my recorder resources here.
Assessing Student Progress
Assessing your students throughout a recorder unit can be a challenge from classroom management to managing the volume of 25-30 students all playing something different. From first day, my students work in small groups. My recorder lessons always consist of a mini-lesson with the class as a whole, then small group work while I work with students or listen to students perform. I encourage you to have a system for your room. How will you assess your students’ progress? Will you listen to small groups or individuals? Will you use technology as a means for testing? My students may test both one-on-one in the classroom and using VoiceThreads.
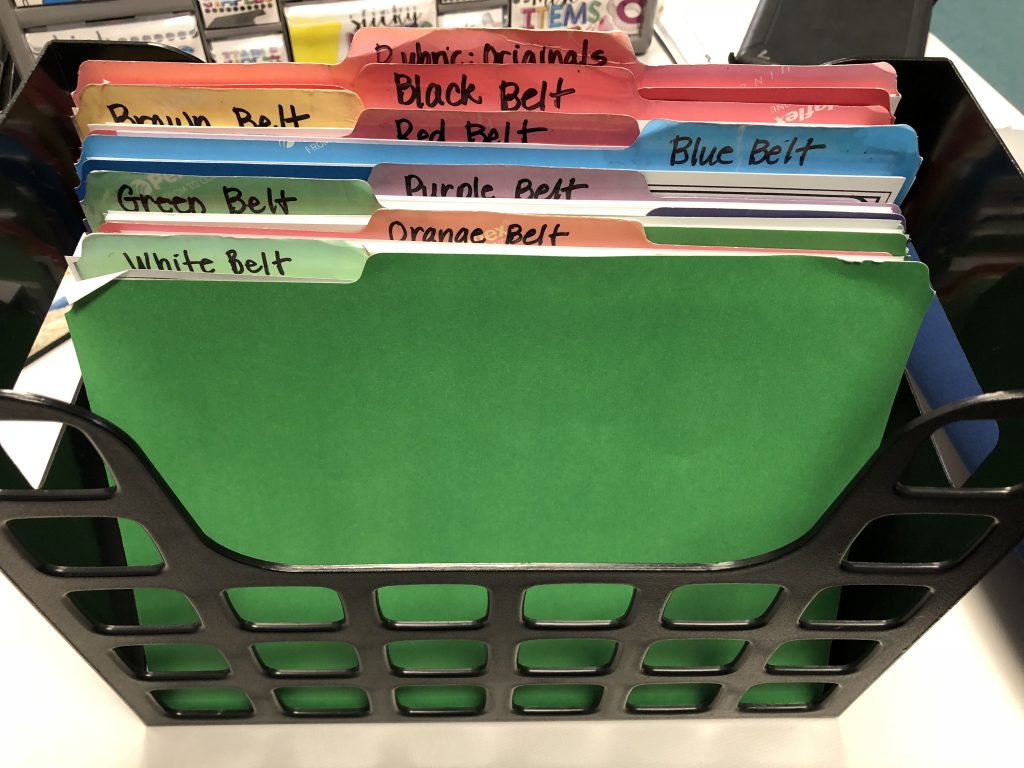
When I do assess, I make sure my location in my room gives me full view of every group. Students line up to perform for me. I have a rubric for each skill level students are being assessed on with the notation of each song as well. As students perform, I can write notes about certain areas of a song that needs additional help. I either share areas of concern and offer strategies to help them or give my students their belt. I keep their rubric to hand back at the end of our unit. Students earn belts for each skill level they achieve, but my students can also earn “sparkle” belts for assisting a friend (by one-on-one help, playing chord roots while friend plays melody, etc.) . This is a great incentive to keep my high achieving students engaged at a deeper level instead of moving ahead quickly.
Ending Your Unit
At some point, you’ll need to bring your recorder unit to an end. Whether you touch upon recorder throughout the year, or teach an intense unit for a few months, both you and your students will want to bring the unit to closure. Here are some ideas to end your unit:
- Have students create recorder compositions composing at the highest level the student achieved
- Do improvisation activities with your students
- Record students playing one of their songs to create a “virtual recorder recital.” Share the videos with parents using Google Drive or other cloud storage. (Check with your school’s policy about recording students and/or posting student images online.)
- Host a recorder informance for parents – allow students to talk about what they learned, how they learned it, and have parents try with their own child’s recorde
- Host a recorder concert for parents
As you close out your recorder unit, think about how you will communicate everything you did with your students’ parents. I gather all of their rubrics and notation tests along with a letter from me sharing their child’s progress into a recorder portfolio. The letter gives parents some context for what we learned, why we learned it, and the implications for their child if they choose to participate in instrumental music. You can see a copy of the letter I send home to parents here.
Drop me a line below with your questions & comments!
Related Blog Posts
HELLO! I love your unit and appreciate that you took the time to explain your process. If I may ask, could you share the book you have created? I, too, have used many books throughout the years, eventually creating my own but I am still at a loss as to how to organize and choose the songs for each skill. For example, for the first 8 days or so, do you teach songs from the book without notation, and then when the students receive the book, they can now read it? Do you give choices for the belt testing? What is in your colored file belt folders? So many questions! Thanks!
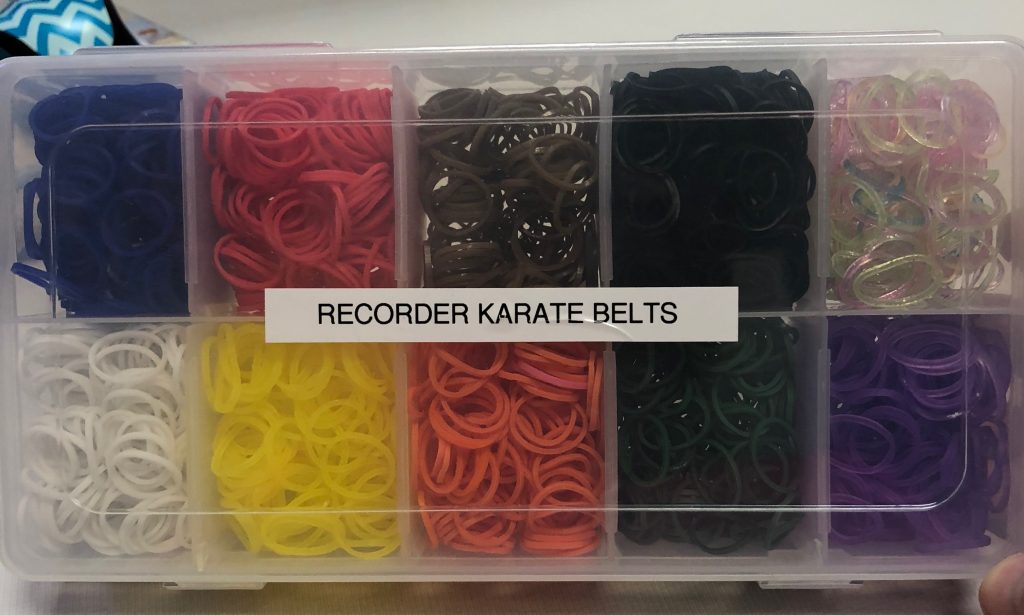
Where did you get the belts?