Have you ever considered doing a science of sound unit with your students? Helping students to understand words like vibration, pitch, and frequency are important when talking about high and low pitch, and timbres of instruments.
There are a variety of ways you can set up this learning experience for your students. You can study sound as classroom unit, offer it as a part of an enrichment, a music center day, or an activity at a Science or STEAM night. I often do this as one of my final units of the year. I love seeing my students’ faces as they learn how different materials create different vibrations, which then create different sounds!
Science of Sound Unit
My unit occurs over 3-4 class periods. The first class period, we talk about how all sound is vibration. We watch a couple of videos that explain and demonstate vibration in a child friendly way.
On day two and three, I set out a variety of workstations for students to work through. I break students into groups and have them cycle through the stations about 5-6 minutes at a time. Students know beforehand that we will not get through all of the stations in one class. I want them to dig deep in each workstation so that they clearly understand how vibration works in a variety of ways.
Day four, we share what we’ve learned as a class. It helps me to know what they learned and what needs to be retaught or discussed in depth further.
Looking for a place to start? Pitch Publications has some phenomenal Science of Sound Units for first and fourth grade students!

Glass Jars of Water
This is an easy experiment to set up for students. Each mason jar has a different level of water. Students tap the side of the jar lightly to get the pitch. I use Kool-Aid for coloring so that students can try playing different songs (notice the color correlation to boomwhackers? Hint! Hint!)
Please note – I use a plastic tablecloth under this workstation. I also set the jars on a cookie sheet. No matter the expectations, where there is water, there are spills!
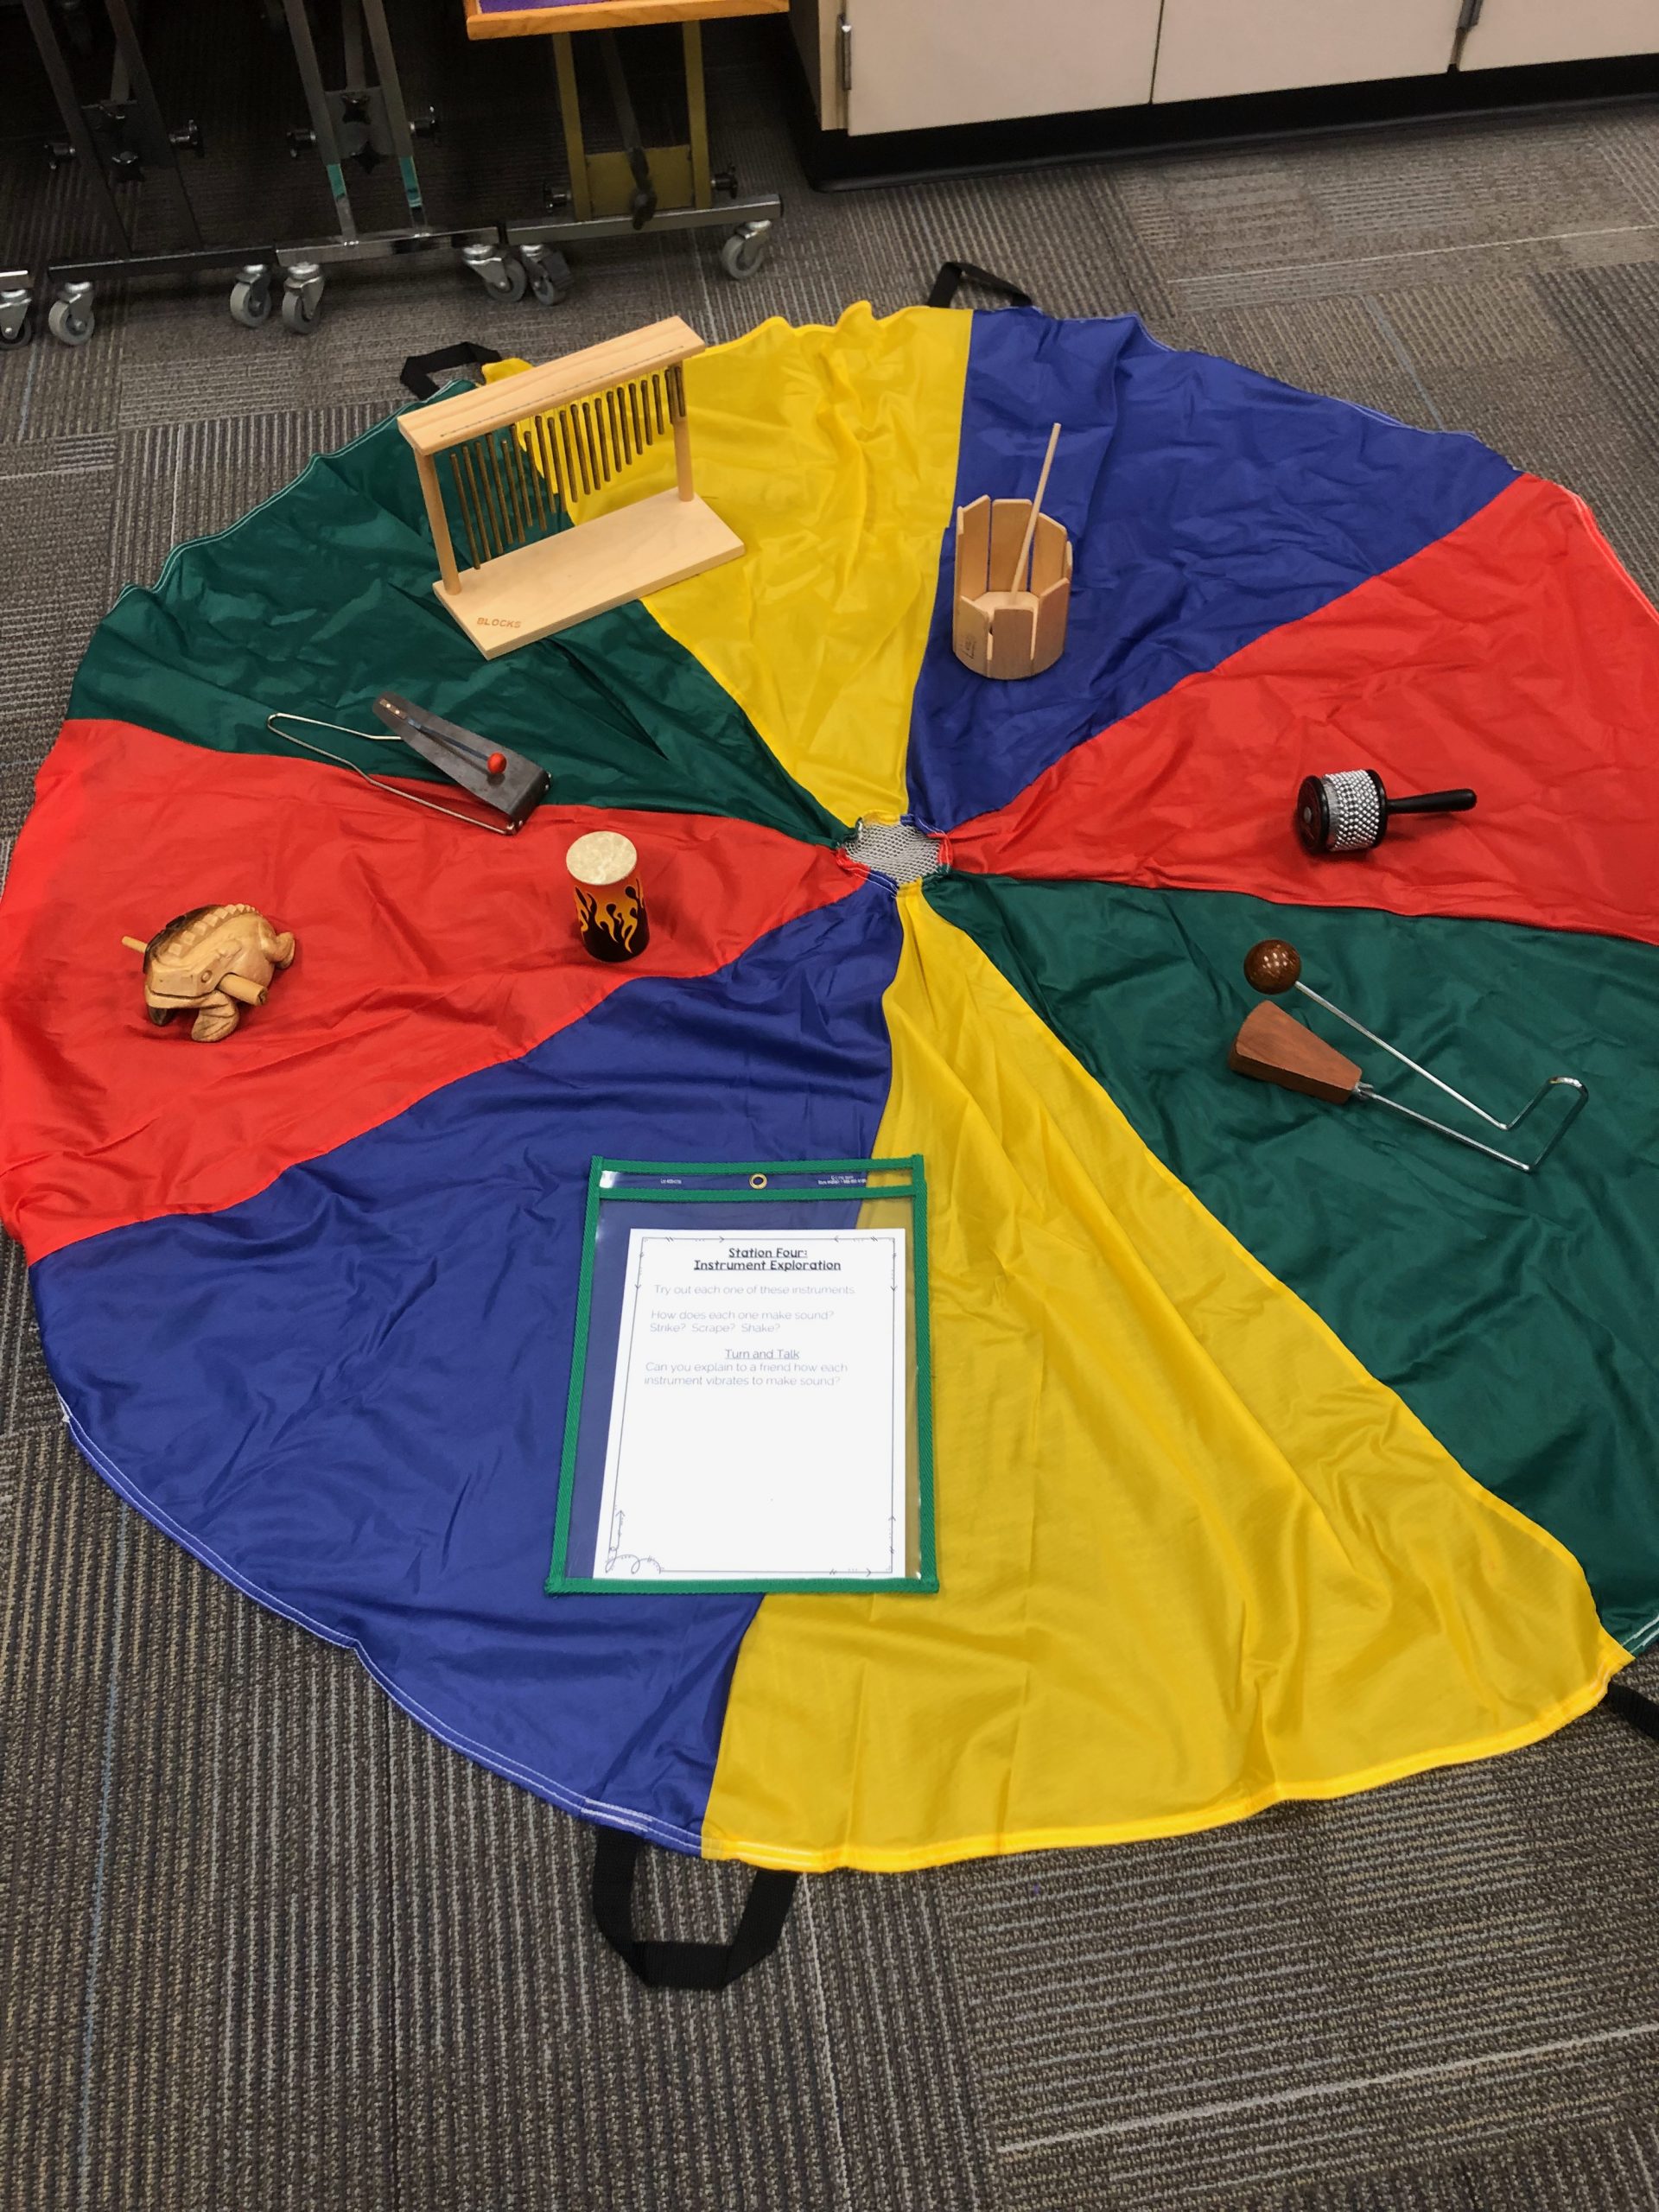
Instrument Exploration
Another great workstation is instrument exploration! There are instruments in my room that get limited usage because of the unique sounds they make like a flexatone, or vibraslap. Why not put those instruments out and let kids explore and explain how they make sound?
For this workstation, I set out a 6-foot parachute to mark off a parameter for the instruments. Usually I use a hula hoop, but for I needed more space for this workstation. You can see the directions on the parachute. Choose one student to review expectations before kids begin exploring. The instruments for this workstation were all chosen because of the unique ways the vibrate:
- Chimes
- Stirring Xylophone
- Cabasa
- VIbraslap
- Frog Rasp
- Flexatone
- Flame Bossa Shaker
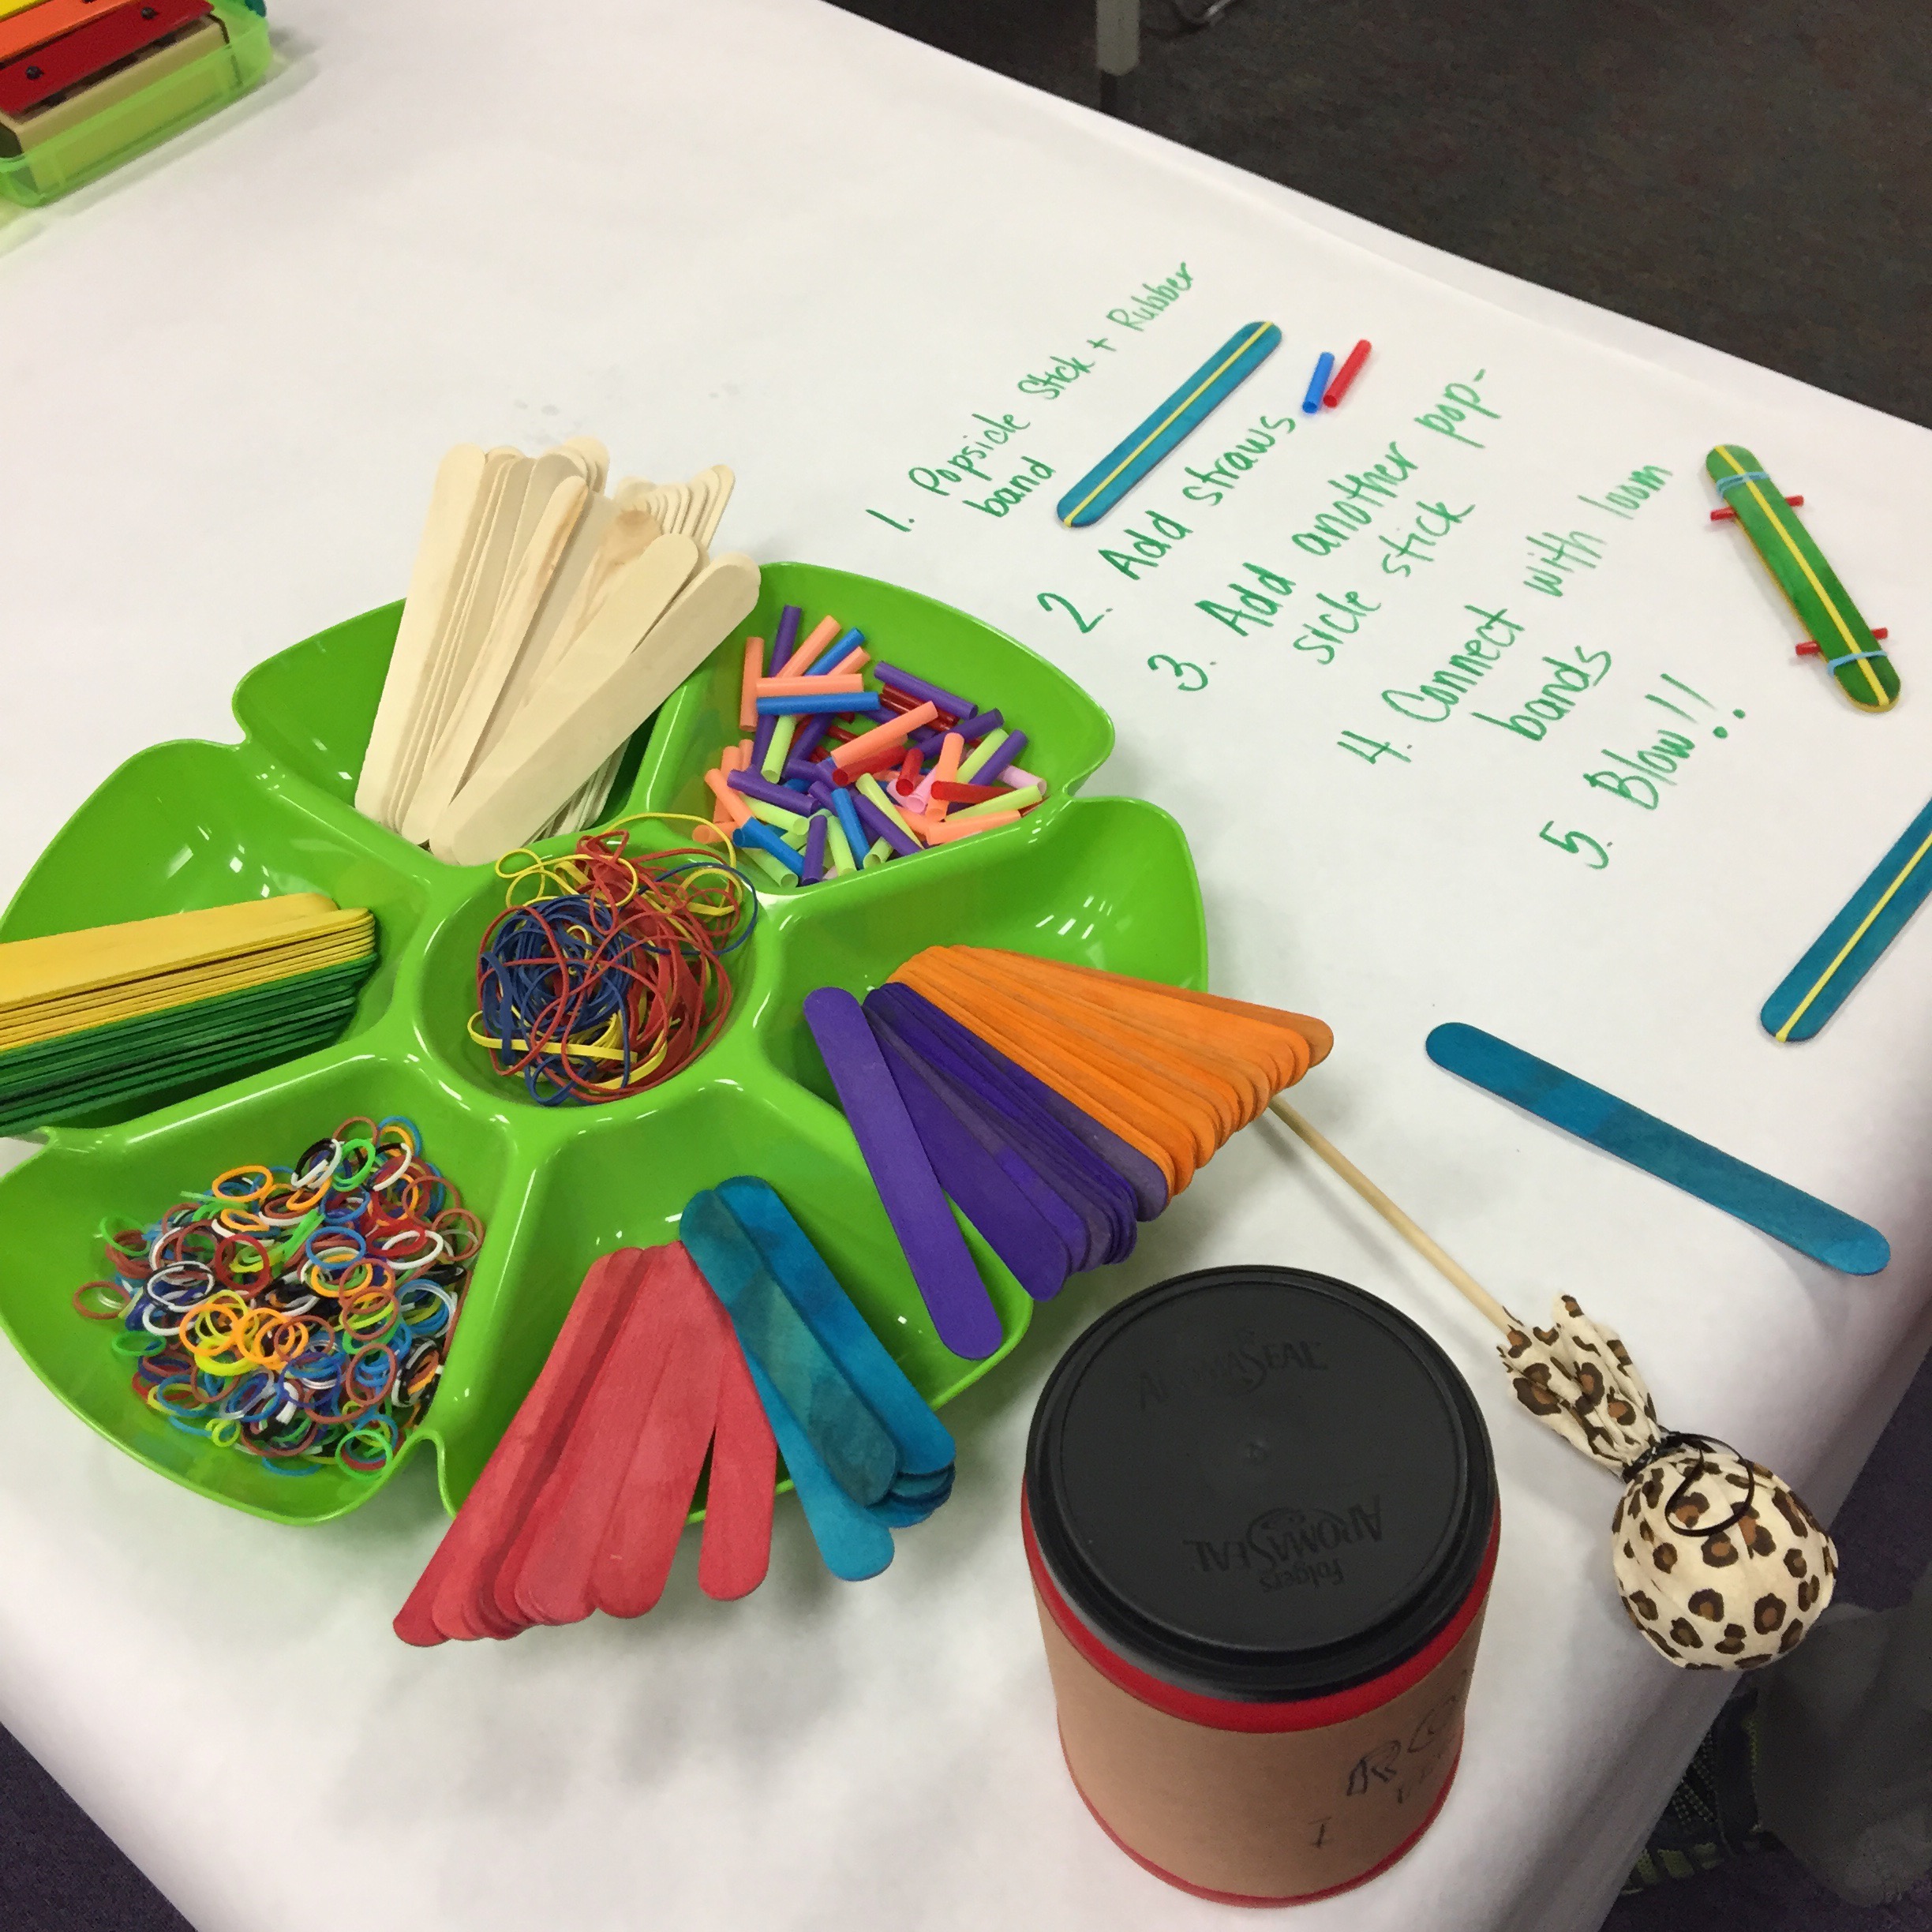
Popsicle Stick Harmonica
This is a fun, inexpensive instrument workstation. It will take a little planning on your part to have all of the materials on hand. You will need:
- large popsicle sticks
- straws cut into 1″ pieces
- thick rubber bands
- rainbow loom rubber bands
Students put the thick rubber band lengthwise on one of the popsicle sticks. Then they place two straw piaces – one on each end of the popsicle stick. Lay the other popsicle stick on top and secure with the rainbow loom rubber bands. Practice blowing into the “harmonica” to make the thick rubber band vibrate!
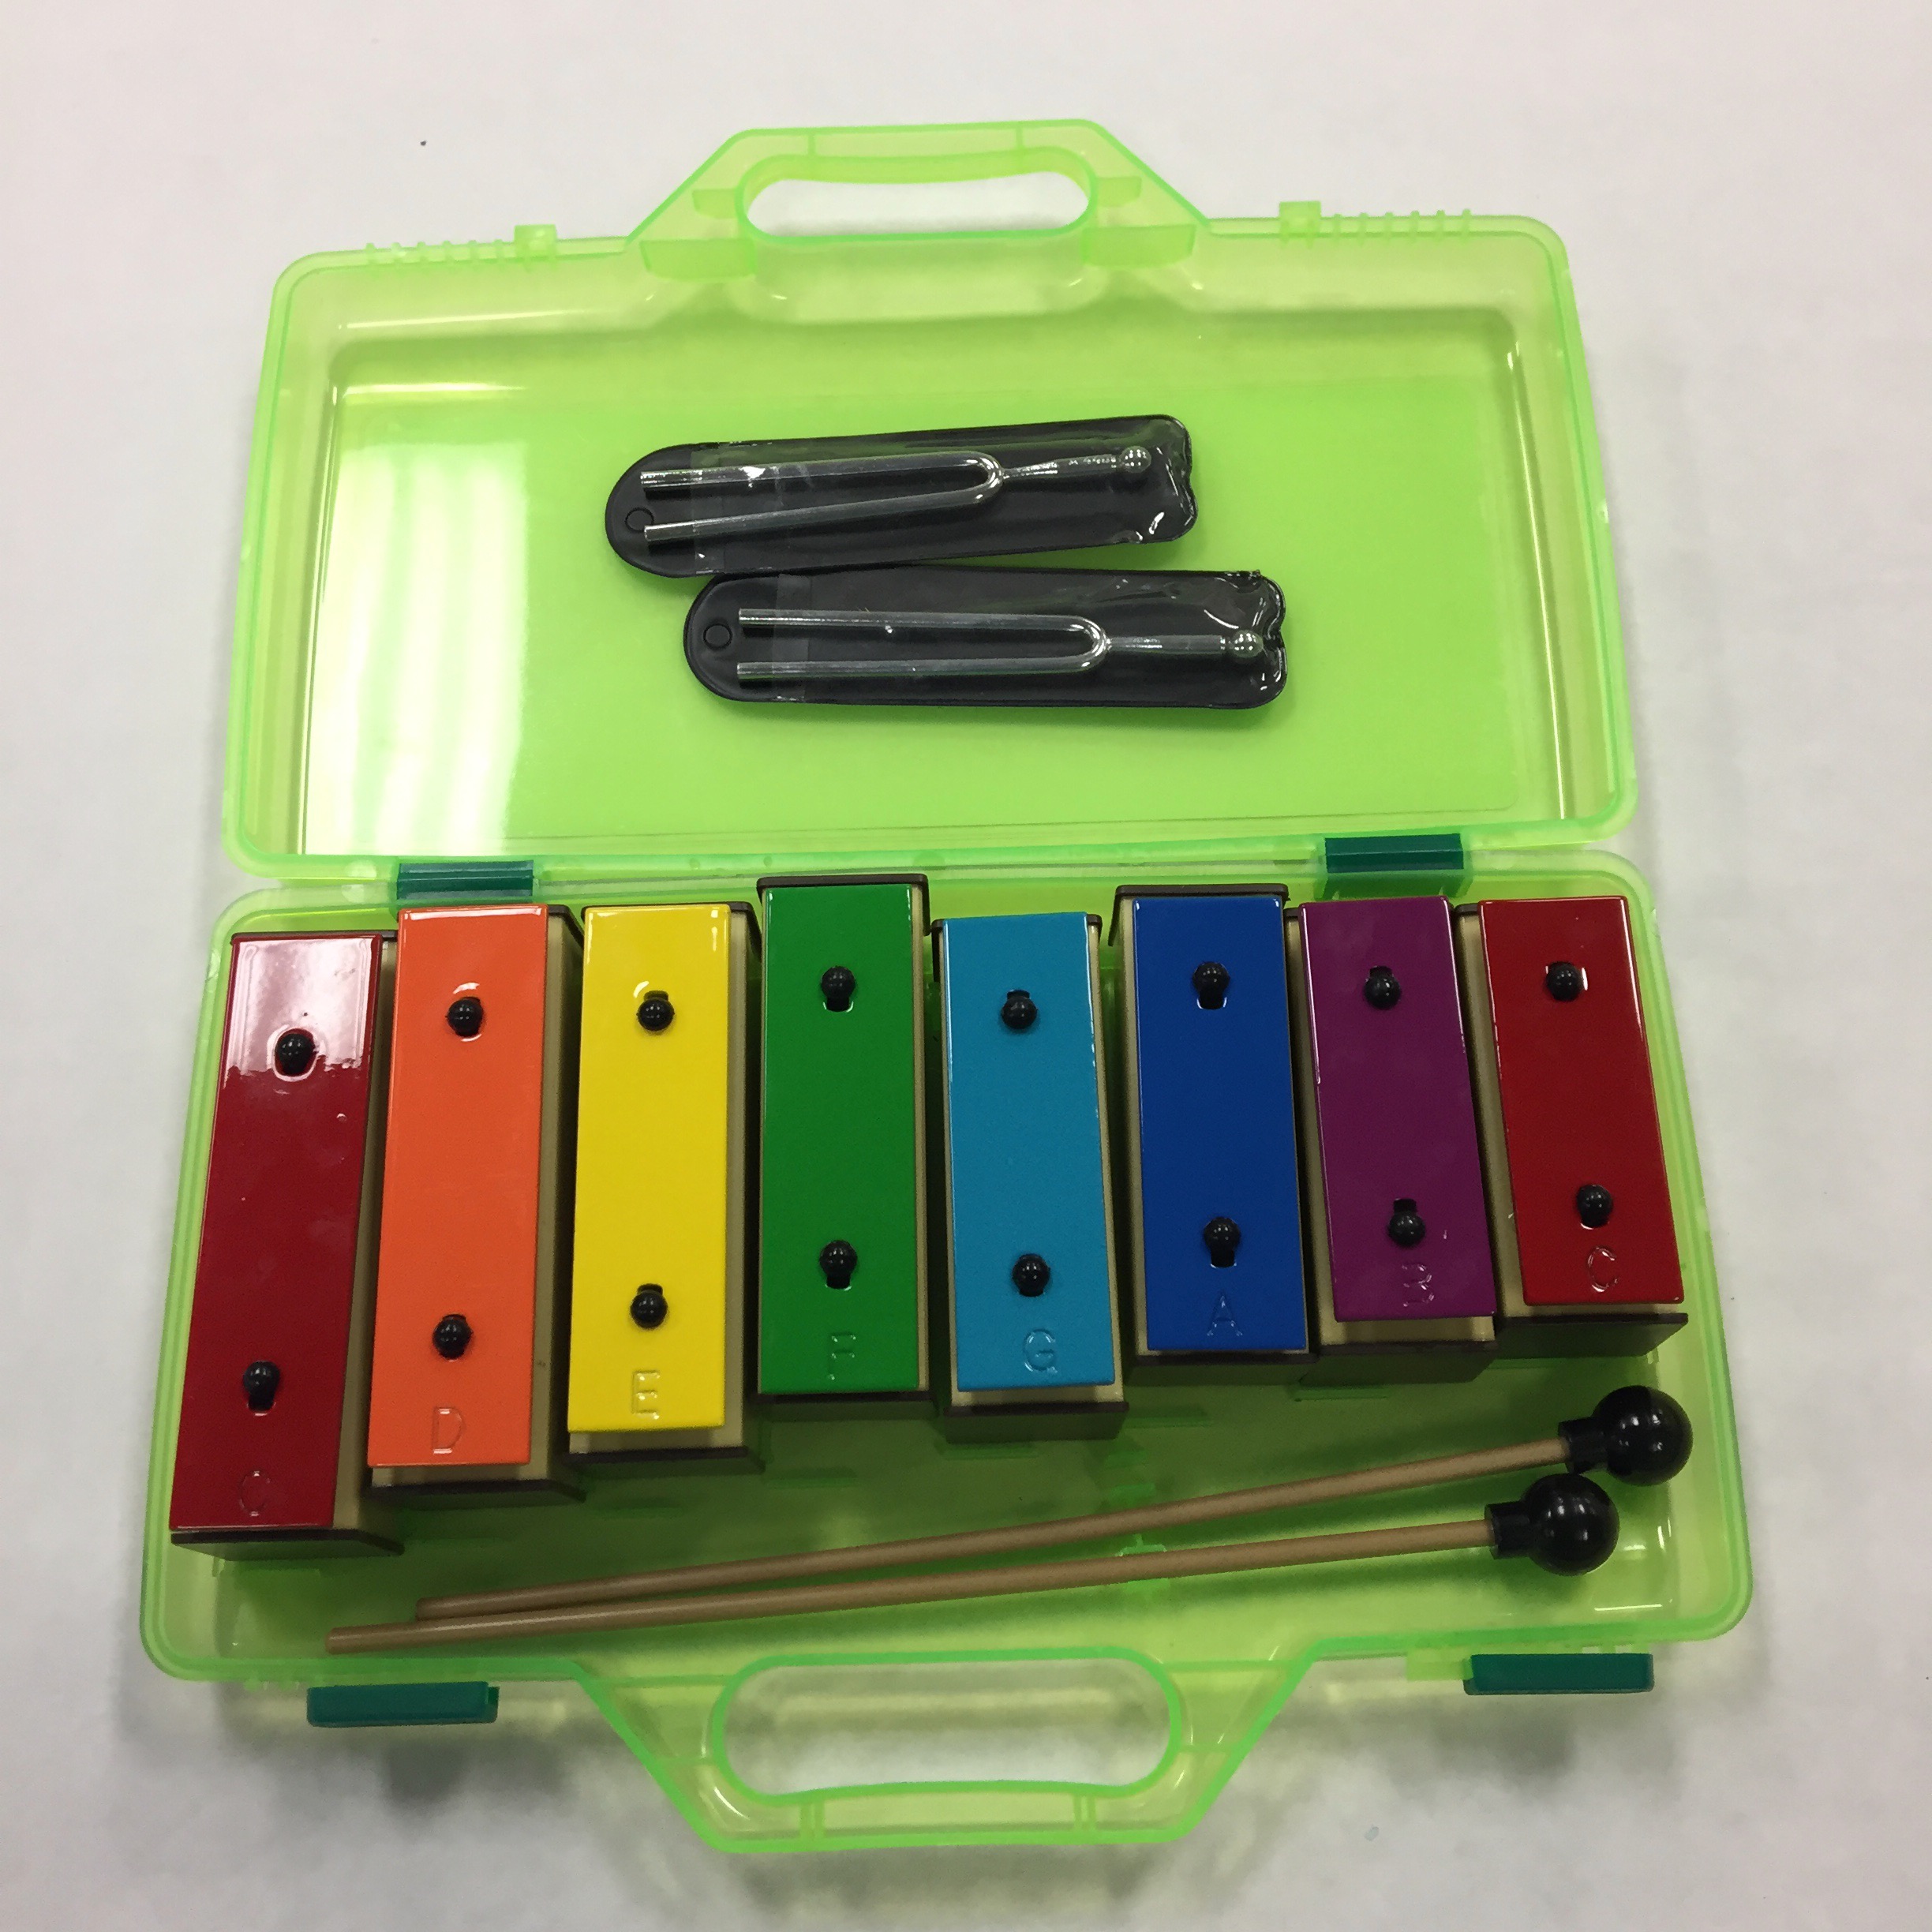
Tuning Fork Match
This is another fun workstation for students! They get such a kick out of using the tuning forks! Did you know you can buy tuning forks in different pitches? I set out 2-3 tuning forks and instruct students that they have to tap the tuning fork on the table, then match the pitch they are hearing on the tone bells!
Just a heads up – it’s REALLY important to make sure the students understand that they DO NOT tap the tuning forks on the tone bells. They will chip and damage the bells. (Learn from my mistakes!)

Catch a Vibration
Have you ever seen those videos of a person putting their iPhone inside of a guitar? They’re really cool to show your students a physical representation of vibration and pitch!
In this station, students are able to explore vibration through strumming on a ukulele. Using the video function on an iPad, they record the strings, trying to capture the vibration as it plays. (The slow-mo function makes it really cool!)
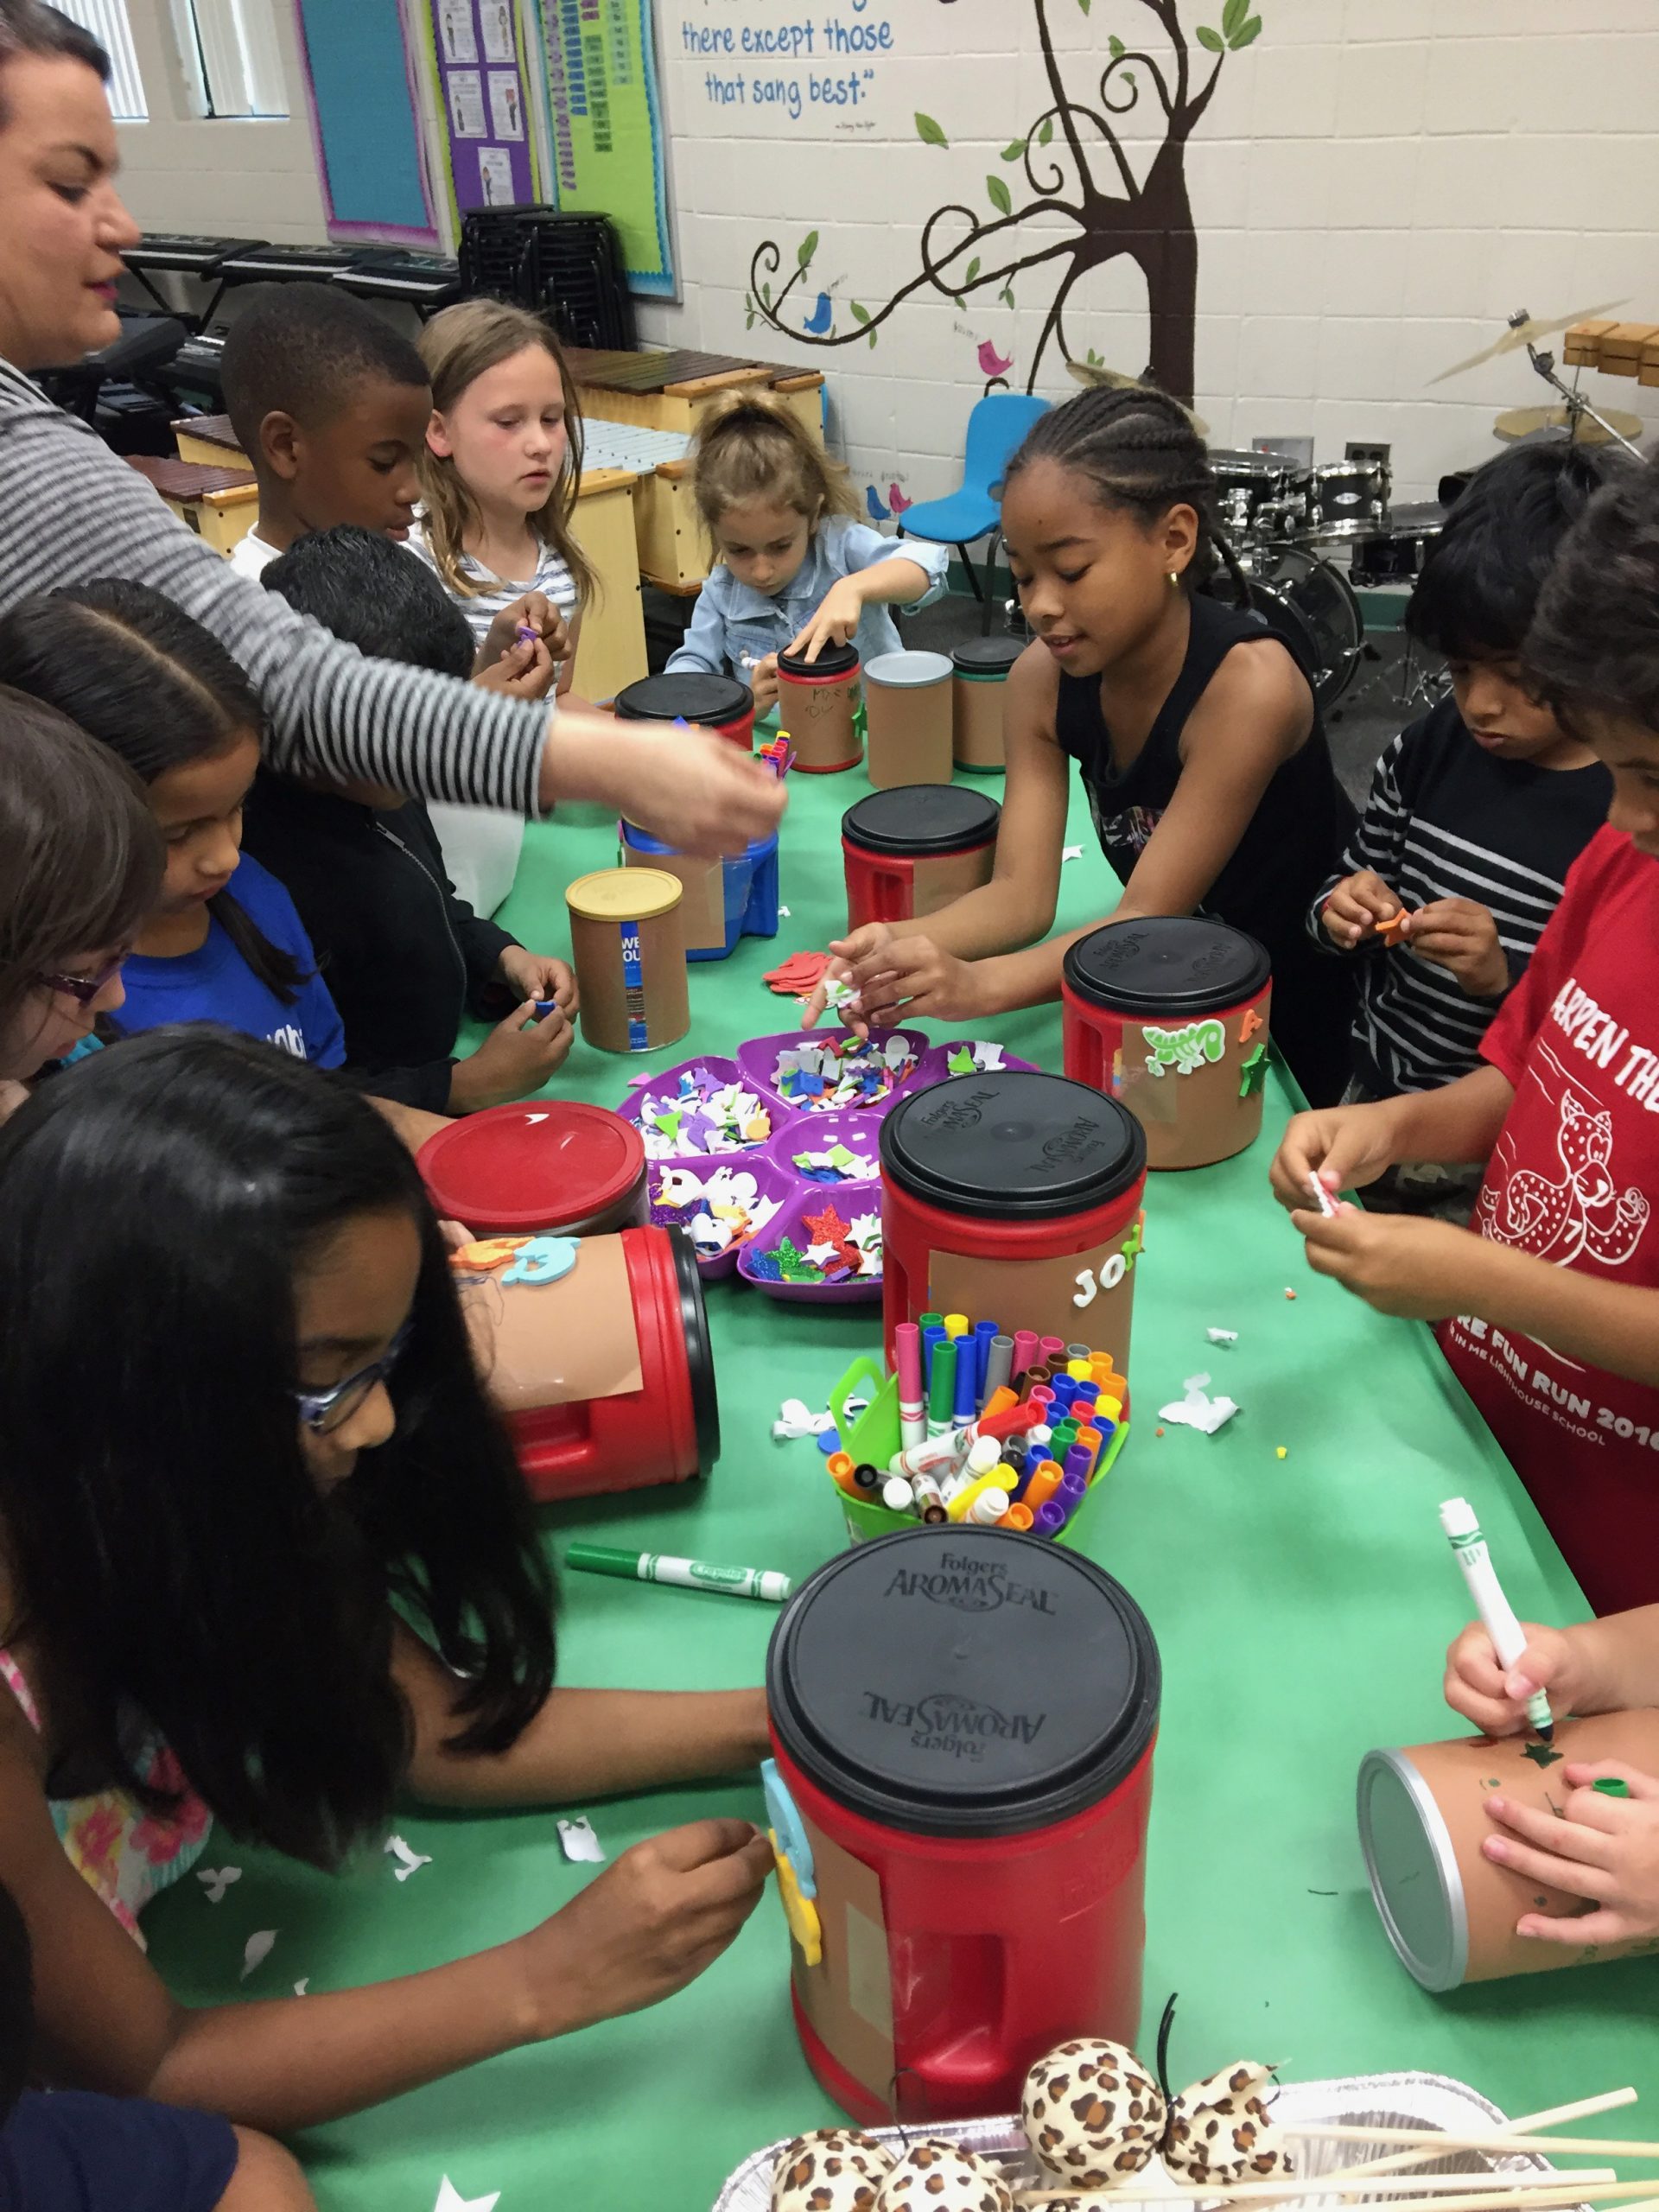
Make a Drum
This workstation is always a hit with my students, but takes A LOT of planning to pull off! First, you need to start collecting coffee cans months in advance of the event. Plastic or tin – doesn’t matter. It simply needs a plastic lid. Other items you need are:
- Wood dowels (to create drum mallet)
- Foam balls (head of drum mallet)
- Fabric scraps (cover for the mallet)
- Yarn scraps (to secure fabric on mallet)
- Construction paper (to cover the drum)
- Packaging tape (to secure the construction paper to the coffee container)
- Markers (to decorate the drum)
- Stickers (to decorate the drum)
- Hot glue gun (to secure the foam balls to dowels – adult does in advance of event)
It feels like a lot of things are necessary for this workstation, but the truth is you can make it as fancy or low-key as you like. You can choose to create mallets or just let students use their hands! I ask for donations for this workstation to minimize the costs!
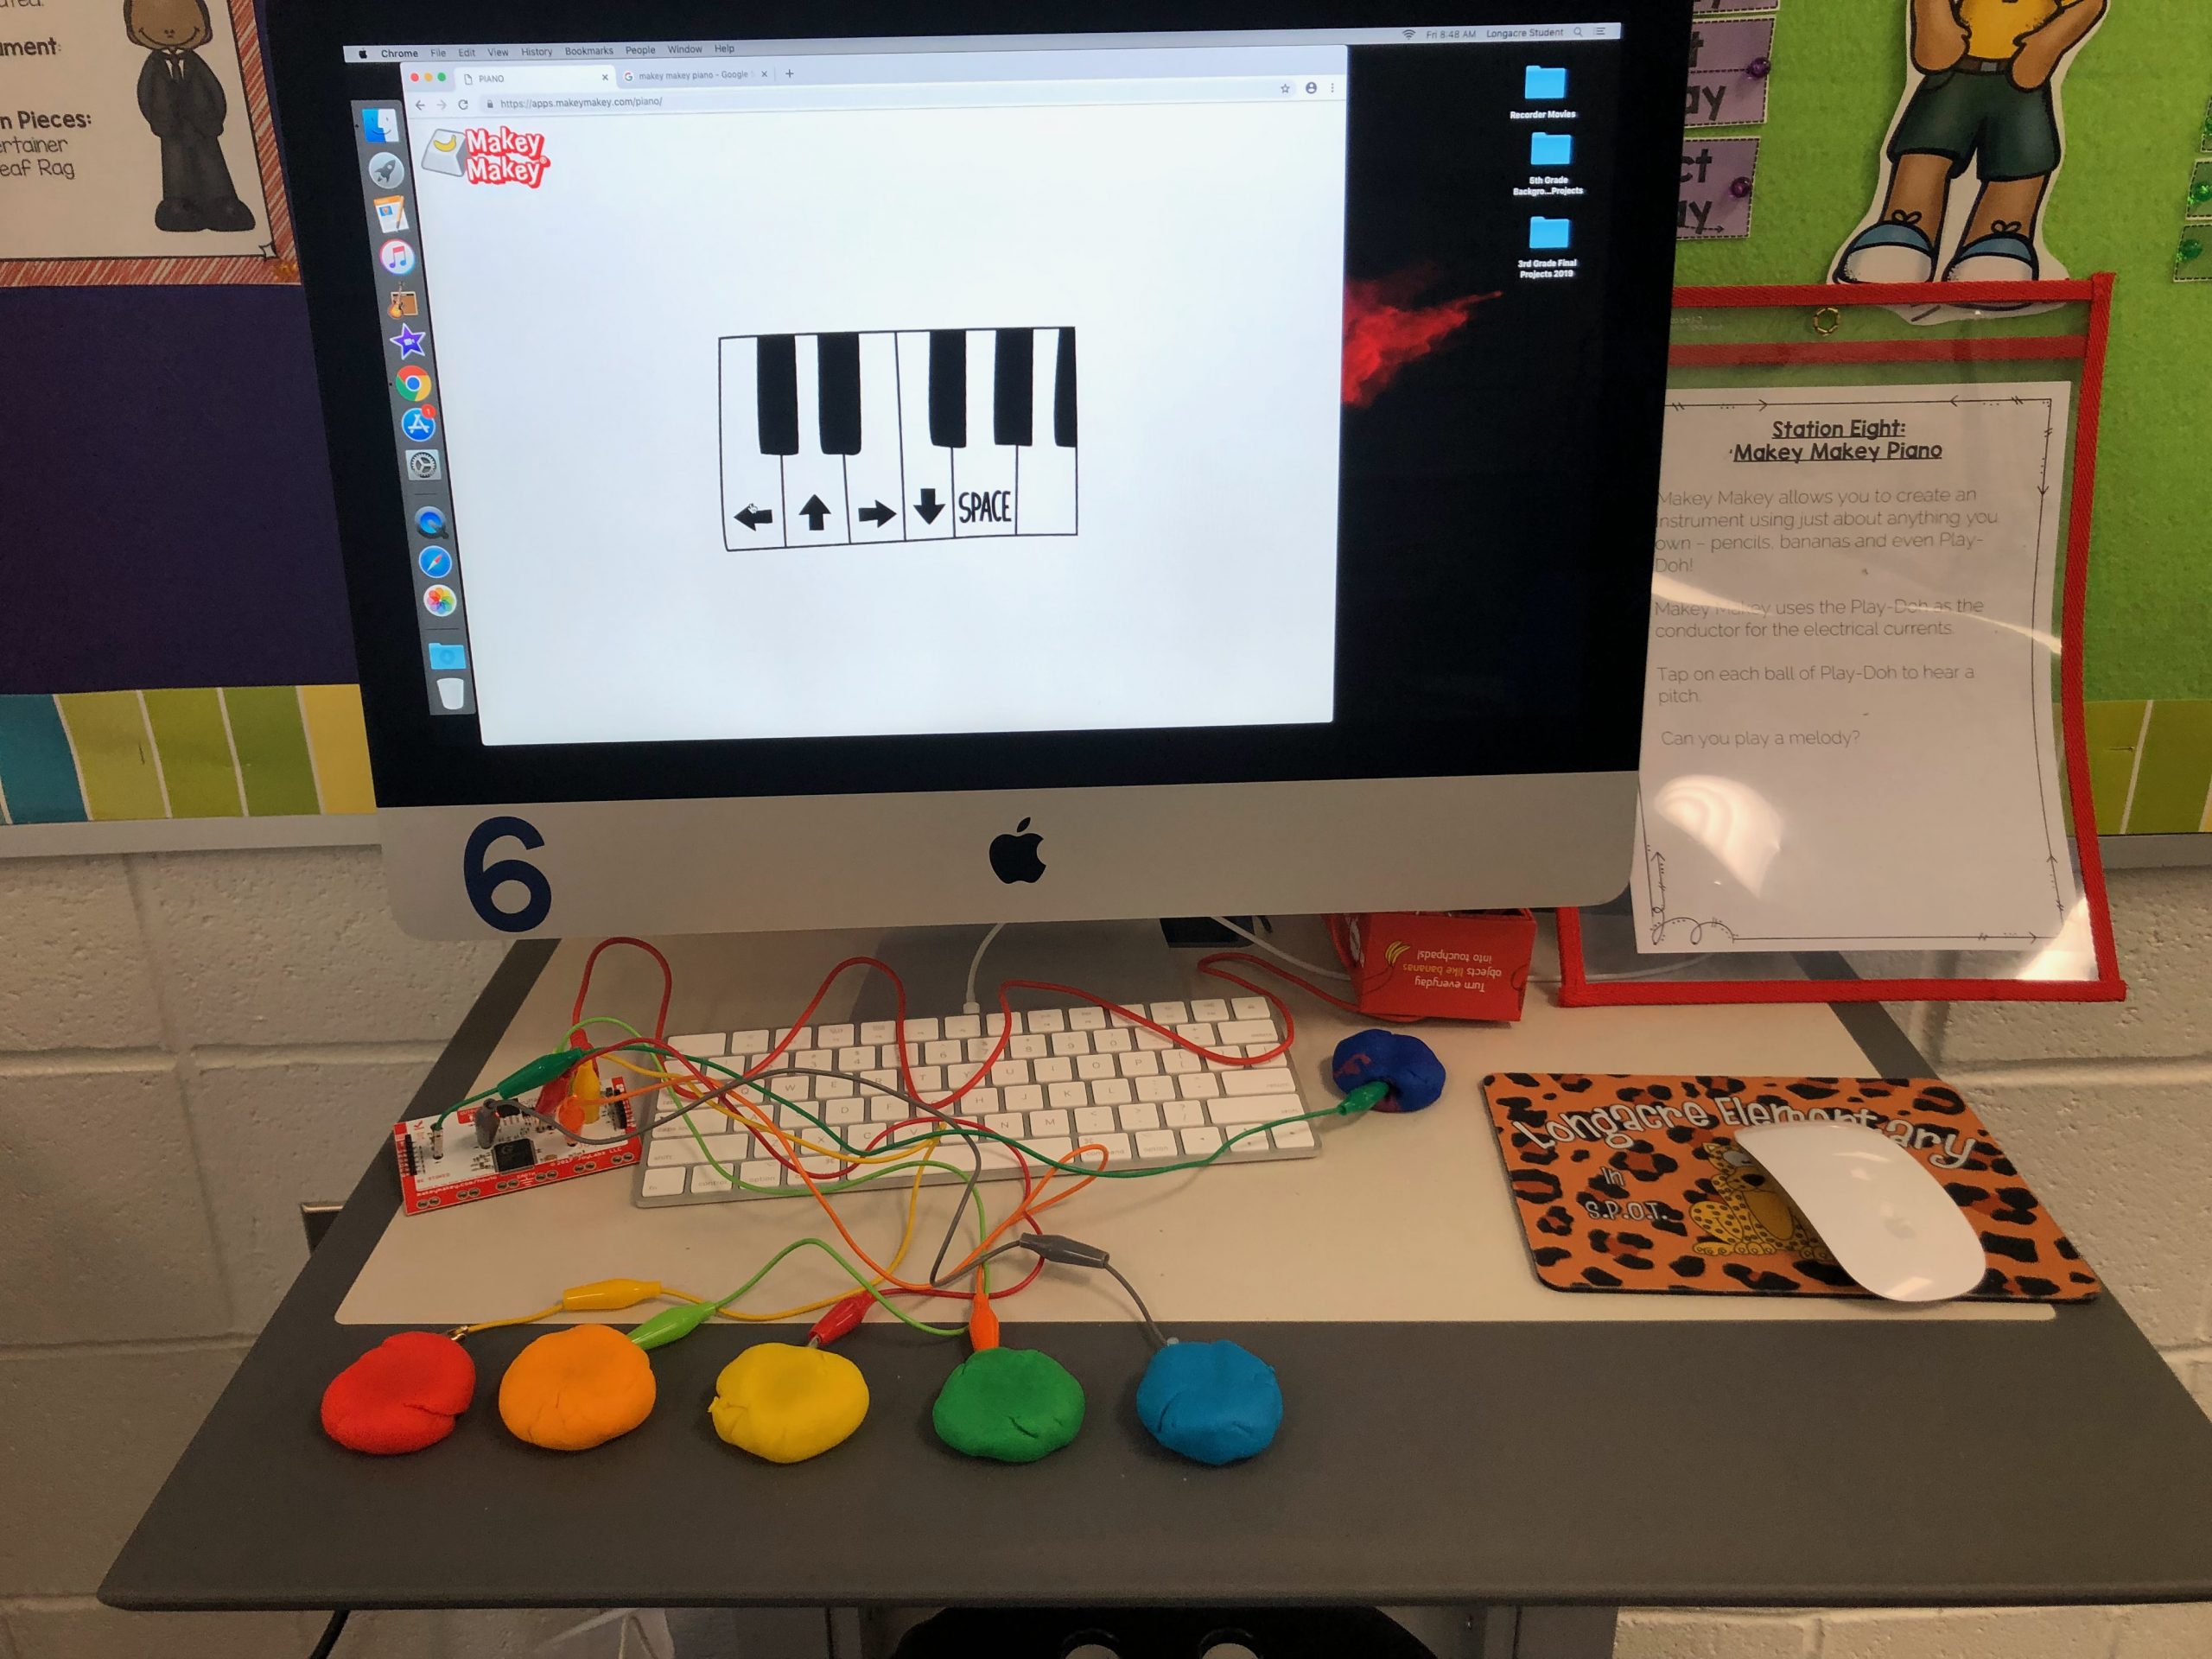
Makey Makey Play-Doh Piano
Although I like for most of my workstations to explore vibration through instruments, it’s fun to introduce your students to sound via technology too! Makey Makey is a fun way to do this! You’ll need to purchase a Makey Makey kit (or borrow one from a science teacher/colleague). The fun thing about Makey Makey is that you can use almost ANYTHING for your piano keys! I chose Play-Doh in the same colors of my boomwhackers (seeing a them here?) Students practiced playing songs by simply tapping on the play-doh!
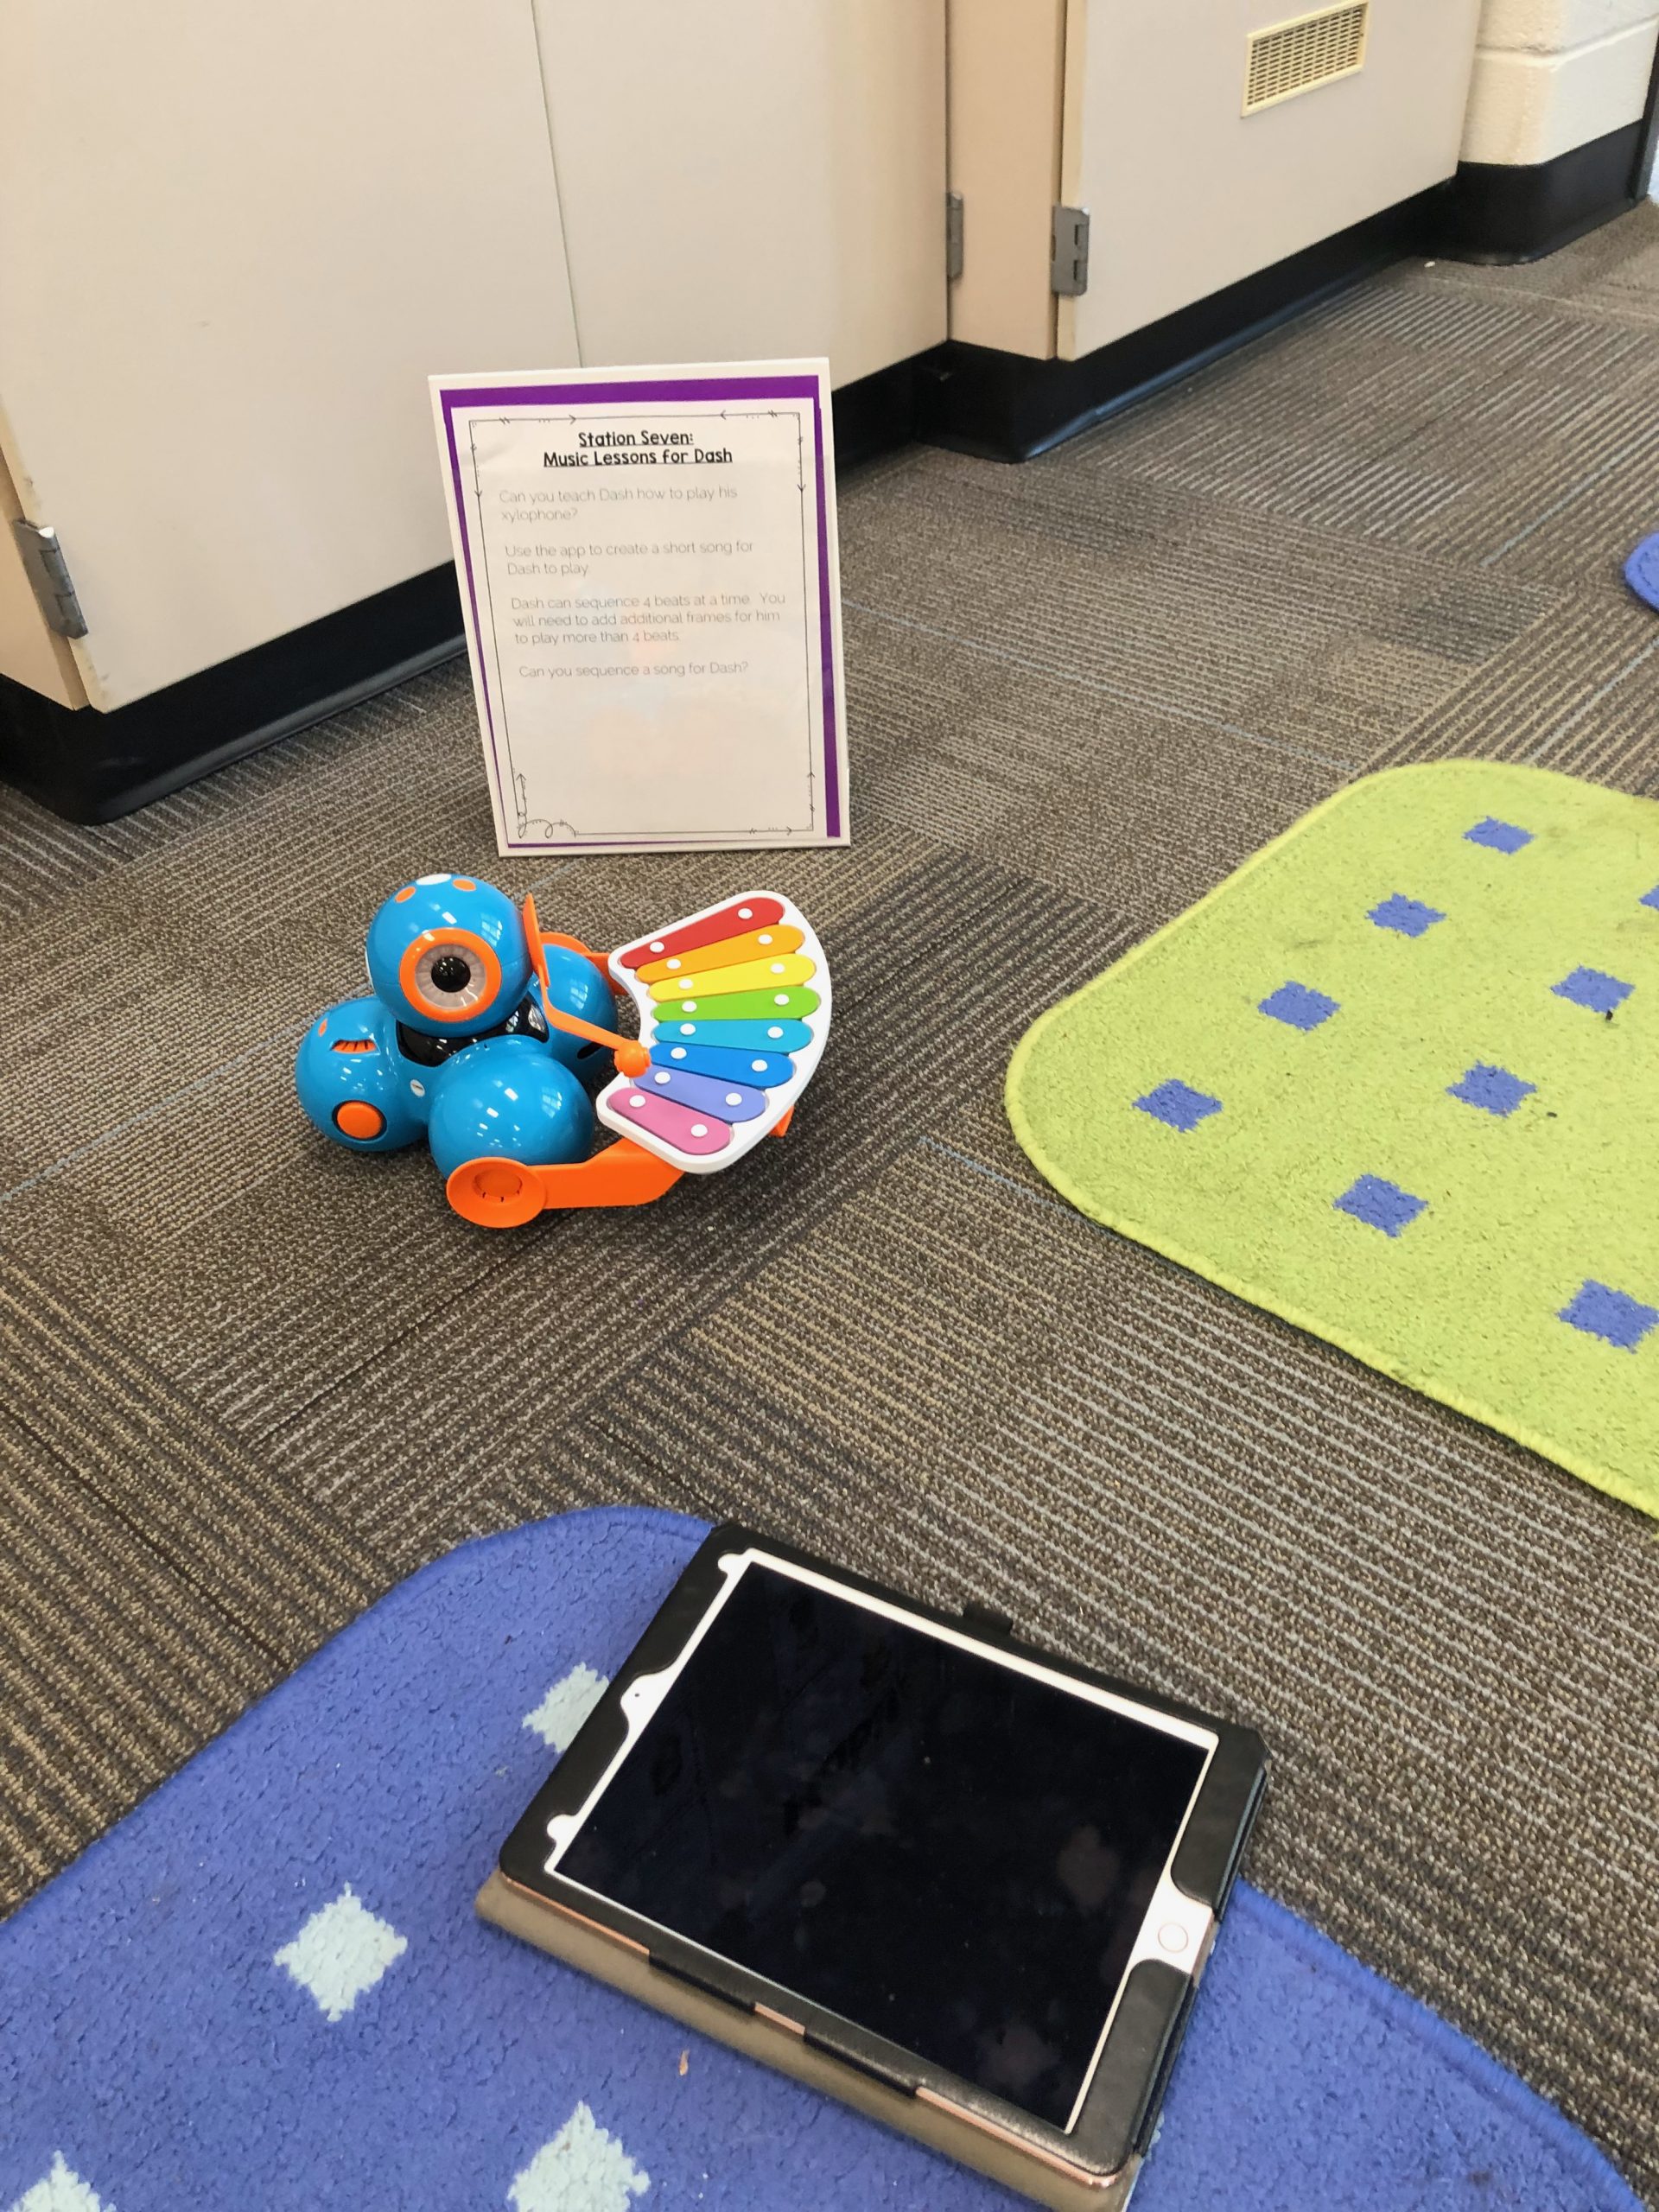
Dash, the Robot Xylophone
Again, if you want a fun way to use technology to explore sound and vibration, Dash, the robot is it! We bought Dash off of Facebook Marketplace for a fraction of the price you would pay for a new one. Students used an iPad to program Dash to play songs on his xylophone (notice the colors – also matching boomwhackers). Students had to explain how Dash’s xylophone made music (1) programming and 2) vibration from mallet hitting metal bars). By far, Dash was a favorite workstation for all of my students!
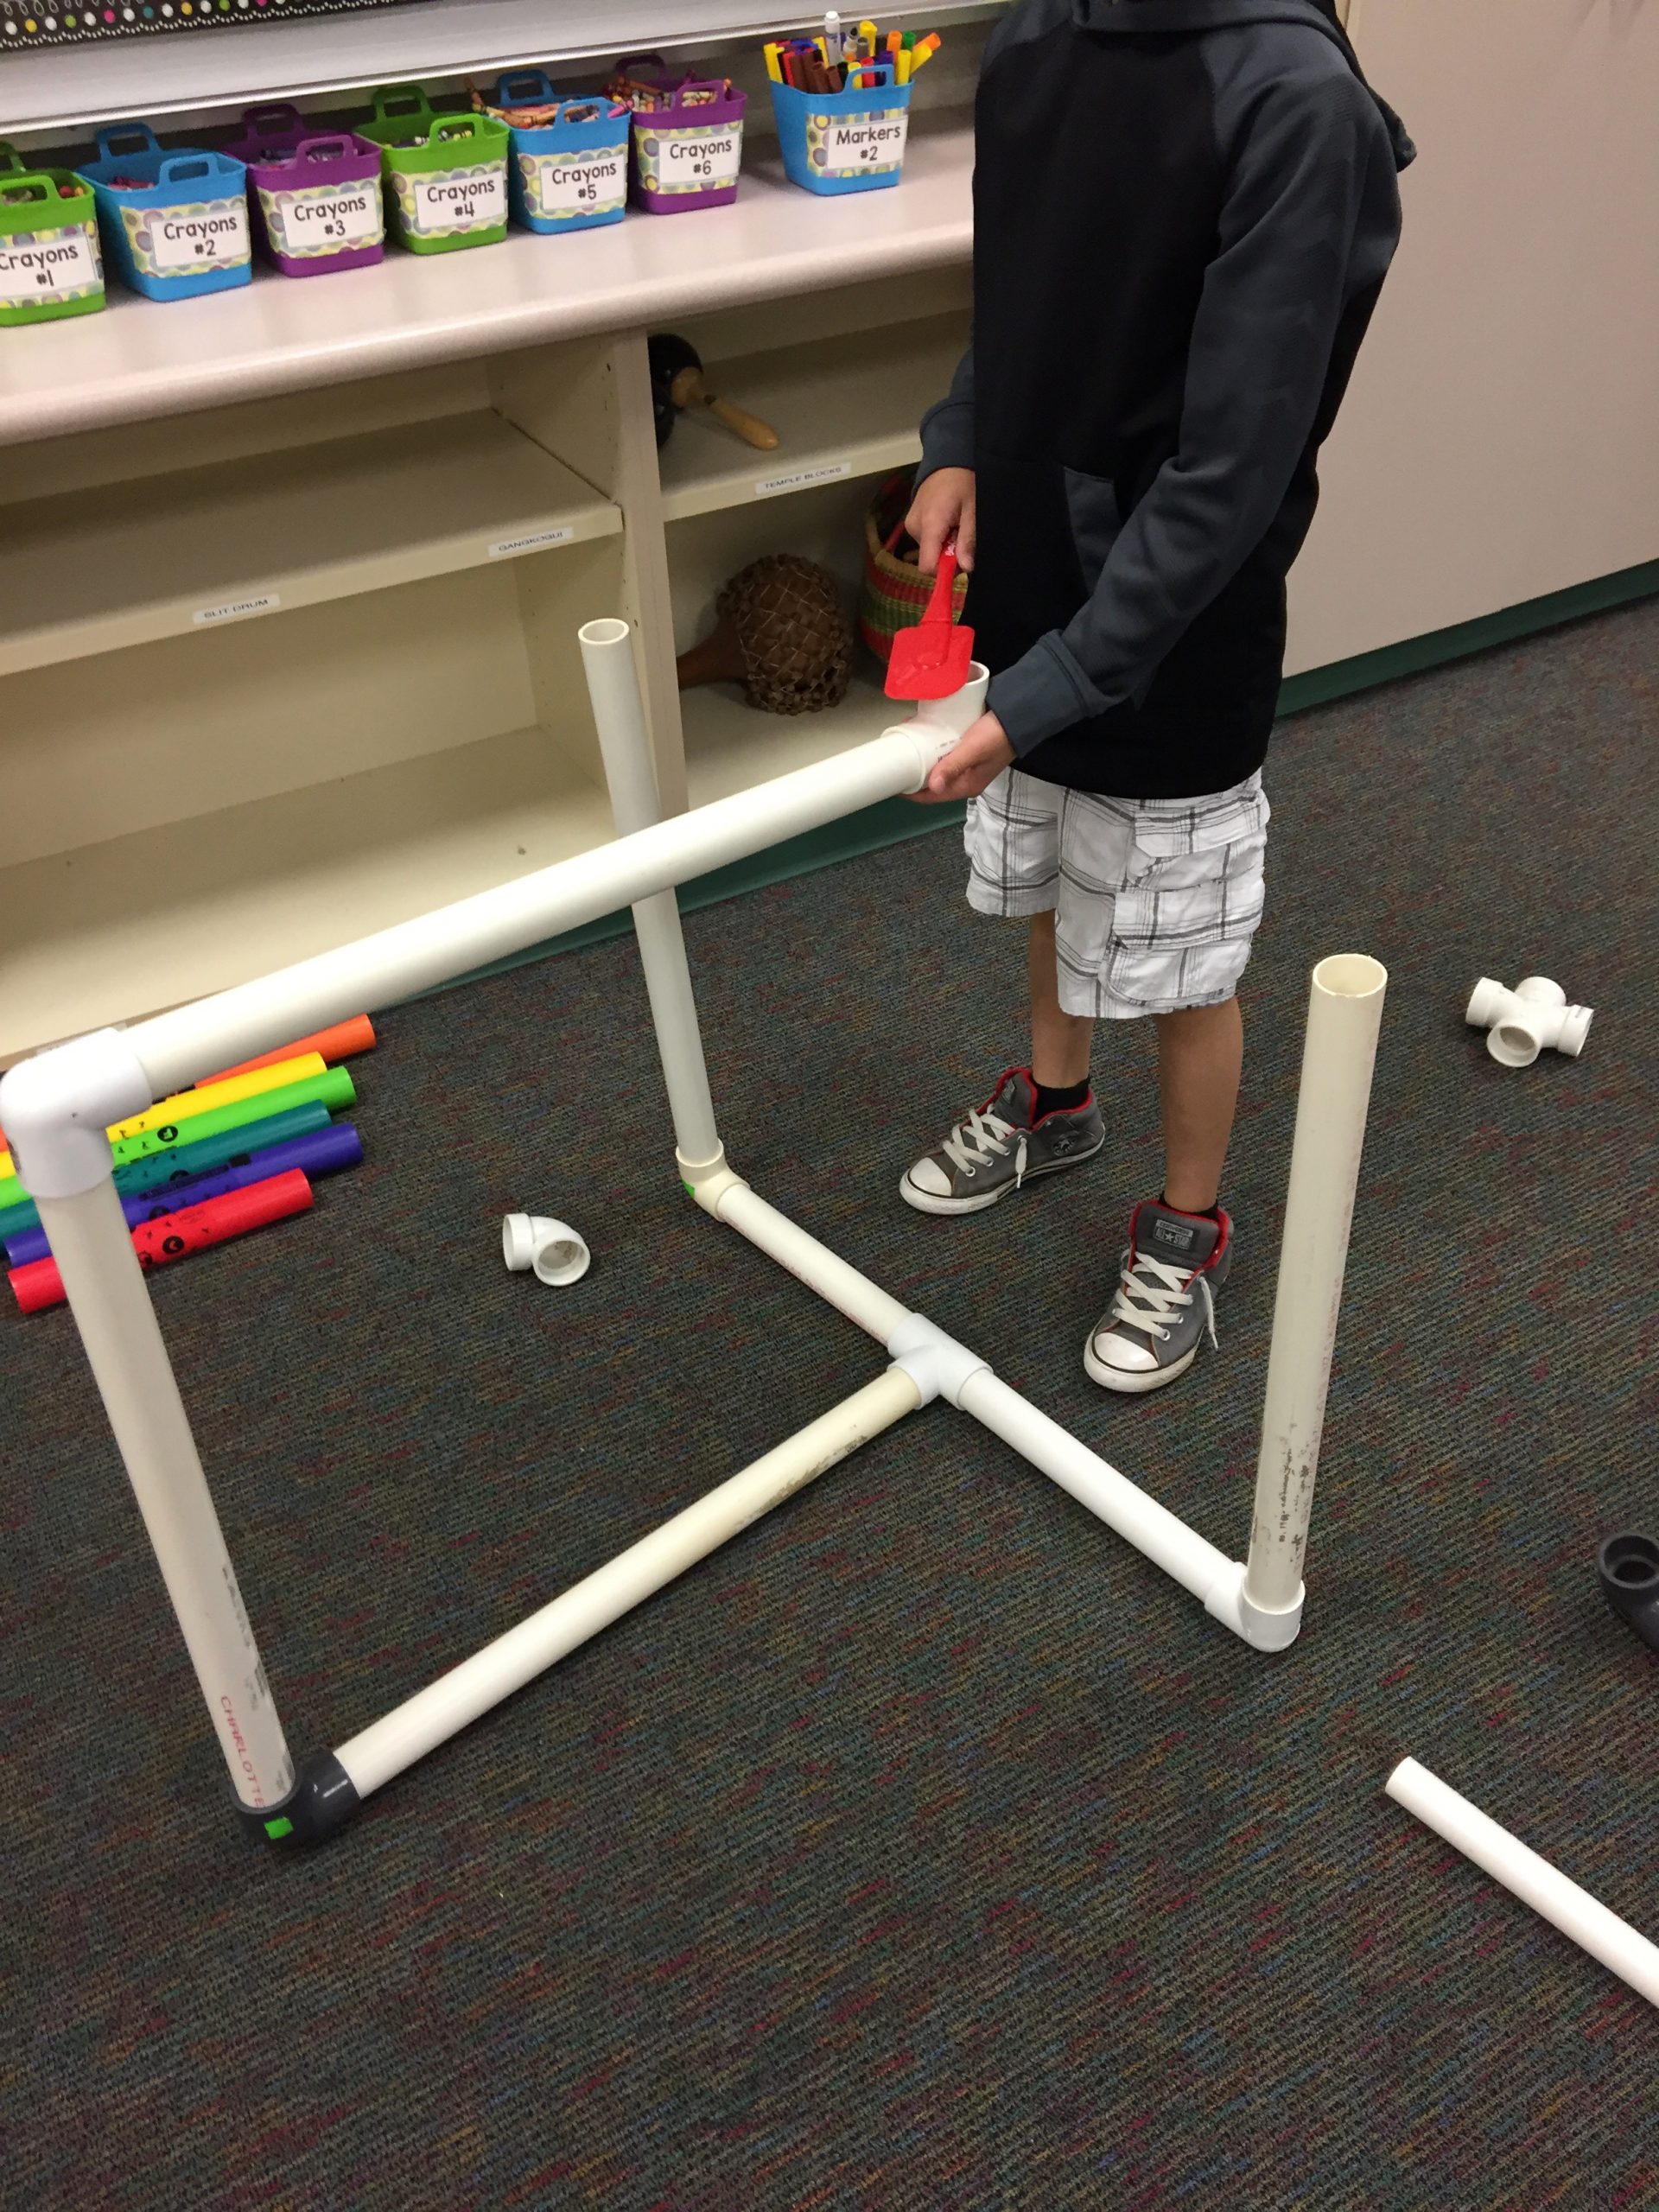
PVC Pipe Instruments
Know a good plumber? Chances are they have lots and lots of scrap PVC pipes! I have a huge bin of PVC pipes in different lengths. Students put them together to create their own whimsical instruments and explore a variety of mallets (e.g. spatulas, flip-flops, etc.) to use to play their instruments!
Still looking for more ideas?
Check out my Science of Sound Pinterest Board!
You may also be interested in this Recycled Instrument Building Lab by my friend at Hutzel House of Music!
Related Blog Posts


I’m always a little afraid for these crafty-type things. But these look like so much fun, I may just have to get over it. Thanks for the ideas!