As many of us prepare for the new school year, there are so many things to consider. Are we teaching from a cart or in our classrooms? Can we safely sing? Can we share instruments? How and when will I sanitize materials? Who will be asked to wear masks? My anxiety spikes as I begin to worry about all of the what ifs. So instead, I center myself around the moment and what is within my circle of control.
Why Create Individual Music Kits
For me, that’s preparing for the experiences I want to have with my students, regardless of how school may look. Music is a source of joy for me and I want it to be a source of joy for my students as well. There are simple things I can do to create a sense of normalcy for my students. One of those things is to ensure they have access to instruments and manipulatives no matter what the constraints around music instruction.
The challenge in creating individual music kits is the sheer number of students we see in our schools. How could I possibly create music kits for every child in my school? The reality is, I can’t. So I made decisions about who would benefit most and created kits for students in K-3. Like many of you, I have no budget for materials, so I needed to do this as inexpensively as possible. So what am I putting in my kits and how much does it cost?
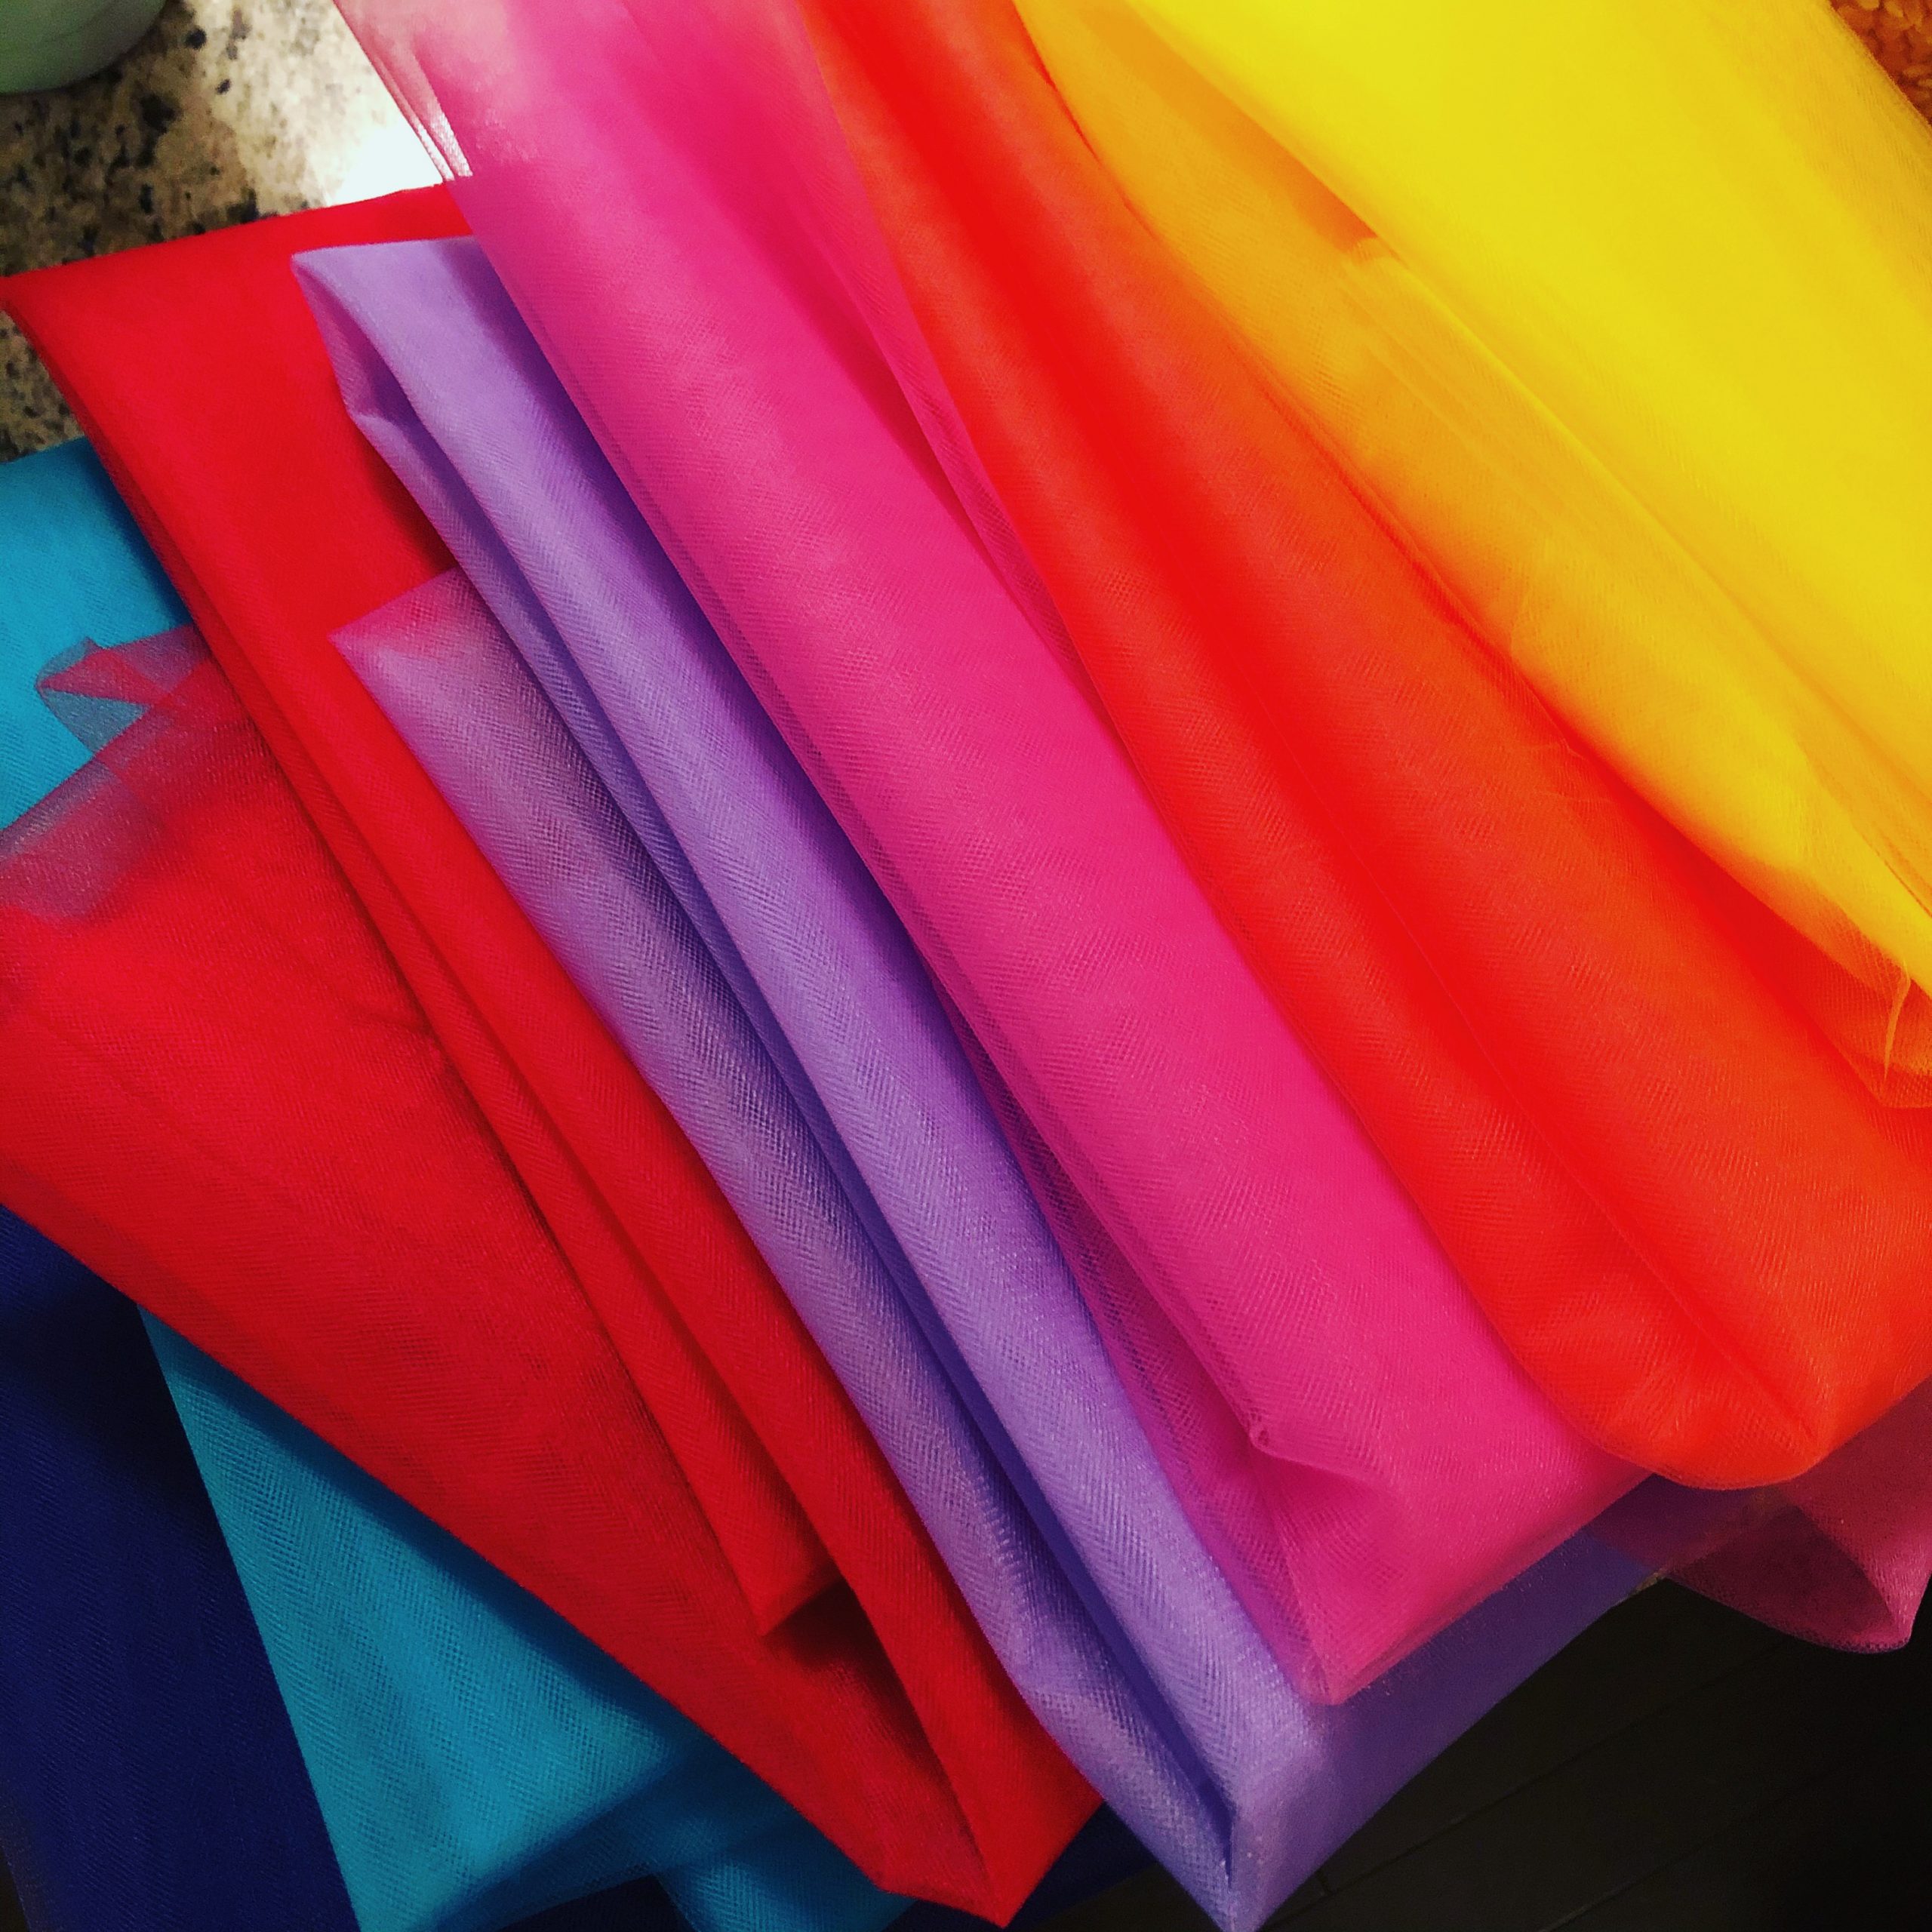
Scarves
I use 12″x12″ juggling scarves in my classroom for movement activities frequently. We use them for Dance & Freeze activities, flow movement, and to explore our focus on breath for singing and chanting. I looked at purchasing the juggling scarves, but the cost would be about $1/each. Yikes! I needed an alternative that was more cost effective. My friend, Kara Kurzeja, recommended using tulle instead, as it won’t fray. I researched tulle at JoAnn’s Fabric and bought 28 yards (4 yards each in 7 colors). The tulle is 54″x36″ which give you options for sizing. You could cut 18″x18″ squares and get 6 scarves per yard. I like the juggling scarf size and decided to keep the 12″x12″ dimension which gave me 12 scarves per yard. A yard of tulle is $1.49 and if you use coupons (JoAnn’s Fabric does have a teacher discount), you lower your cost. I happened to have a 20% coupon for my entire purchase, so the cost per student per scarf? 18 cents.
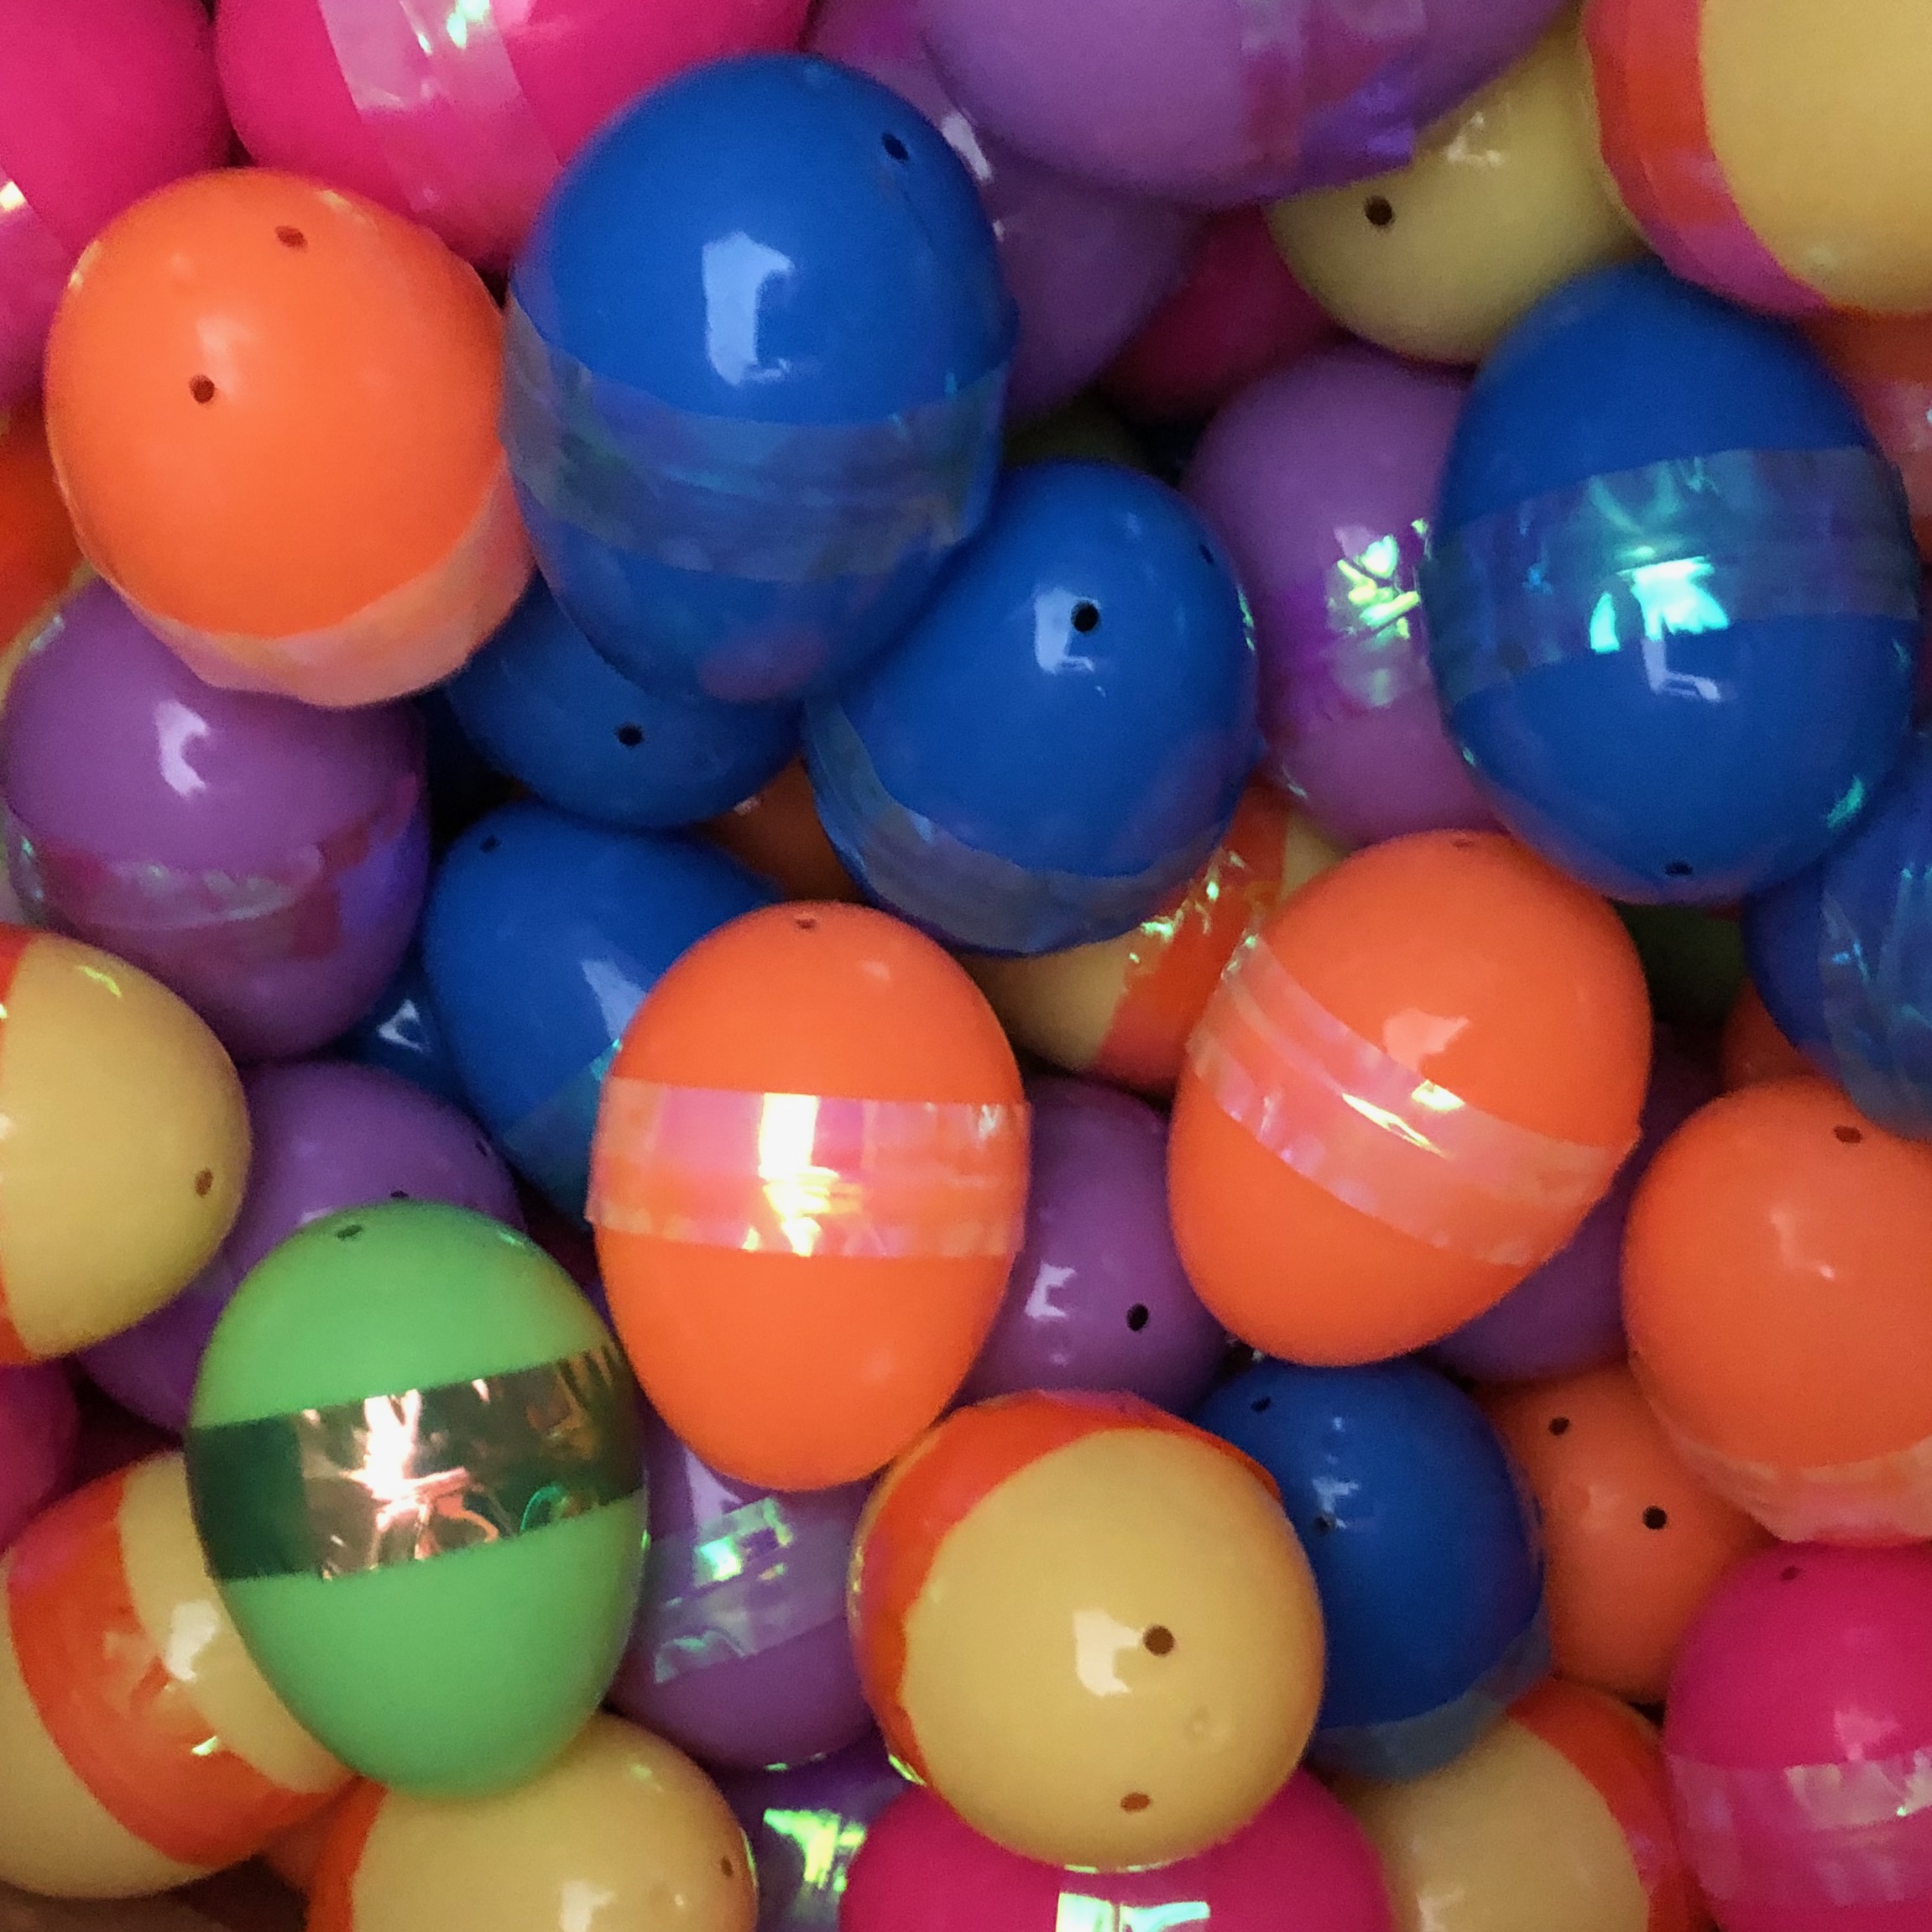
Egg Shakers
I love using egg shakers with my students as a simple percussion instrument. Again, I looked into buying egg shakers directly from a manufacturer, but the cost was roughly 75 cents per egg. The alternative? Plastic eggs! With the stores being closed throughout the spring, many stores were still selling plastic eggs (post-Easter) in their clearance sections. I was able to purchase 200 eggs at 90% off! The next questions was, what to put in the egg to get that shaking effect? I decided to use popcorn kernels and proceeded to test among my son and his friends how many kernels right for optimal shaking. The overall winner was 7 popcorn kernels. The concern was not to fill the eggs to the point that if one opened, a parent could be able to clean up and know a finite amount of kernels to search for. I filled the eggs in batches, superglued one half of the egg, connected the two halves together, twisted it to disperse the glue evenly and let them dry. I was still concerned about eggs breaking apart, so I used some washi tape I had to tape the seam as well. Because I was able to get the eggs on clearance and only had to buy one bag of popcorn, the total cost per egg? 2 cents.
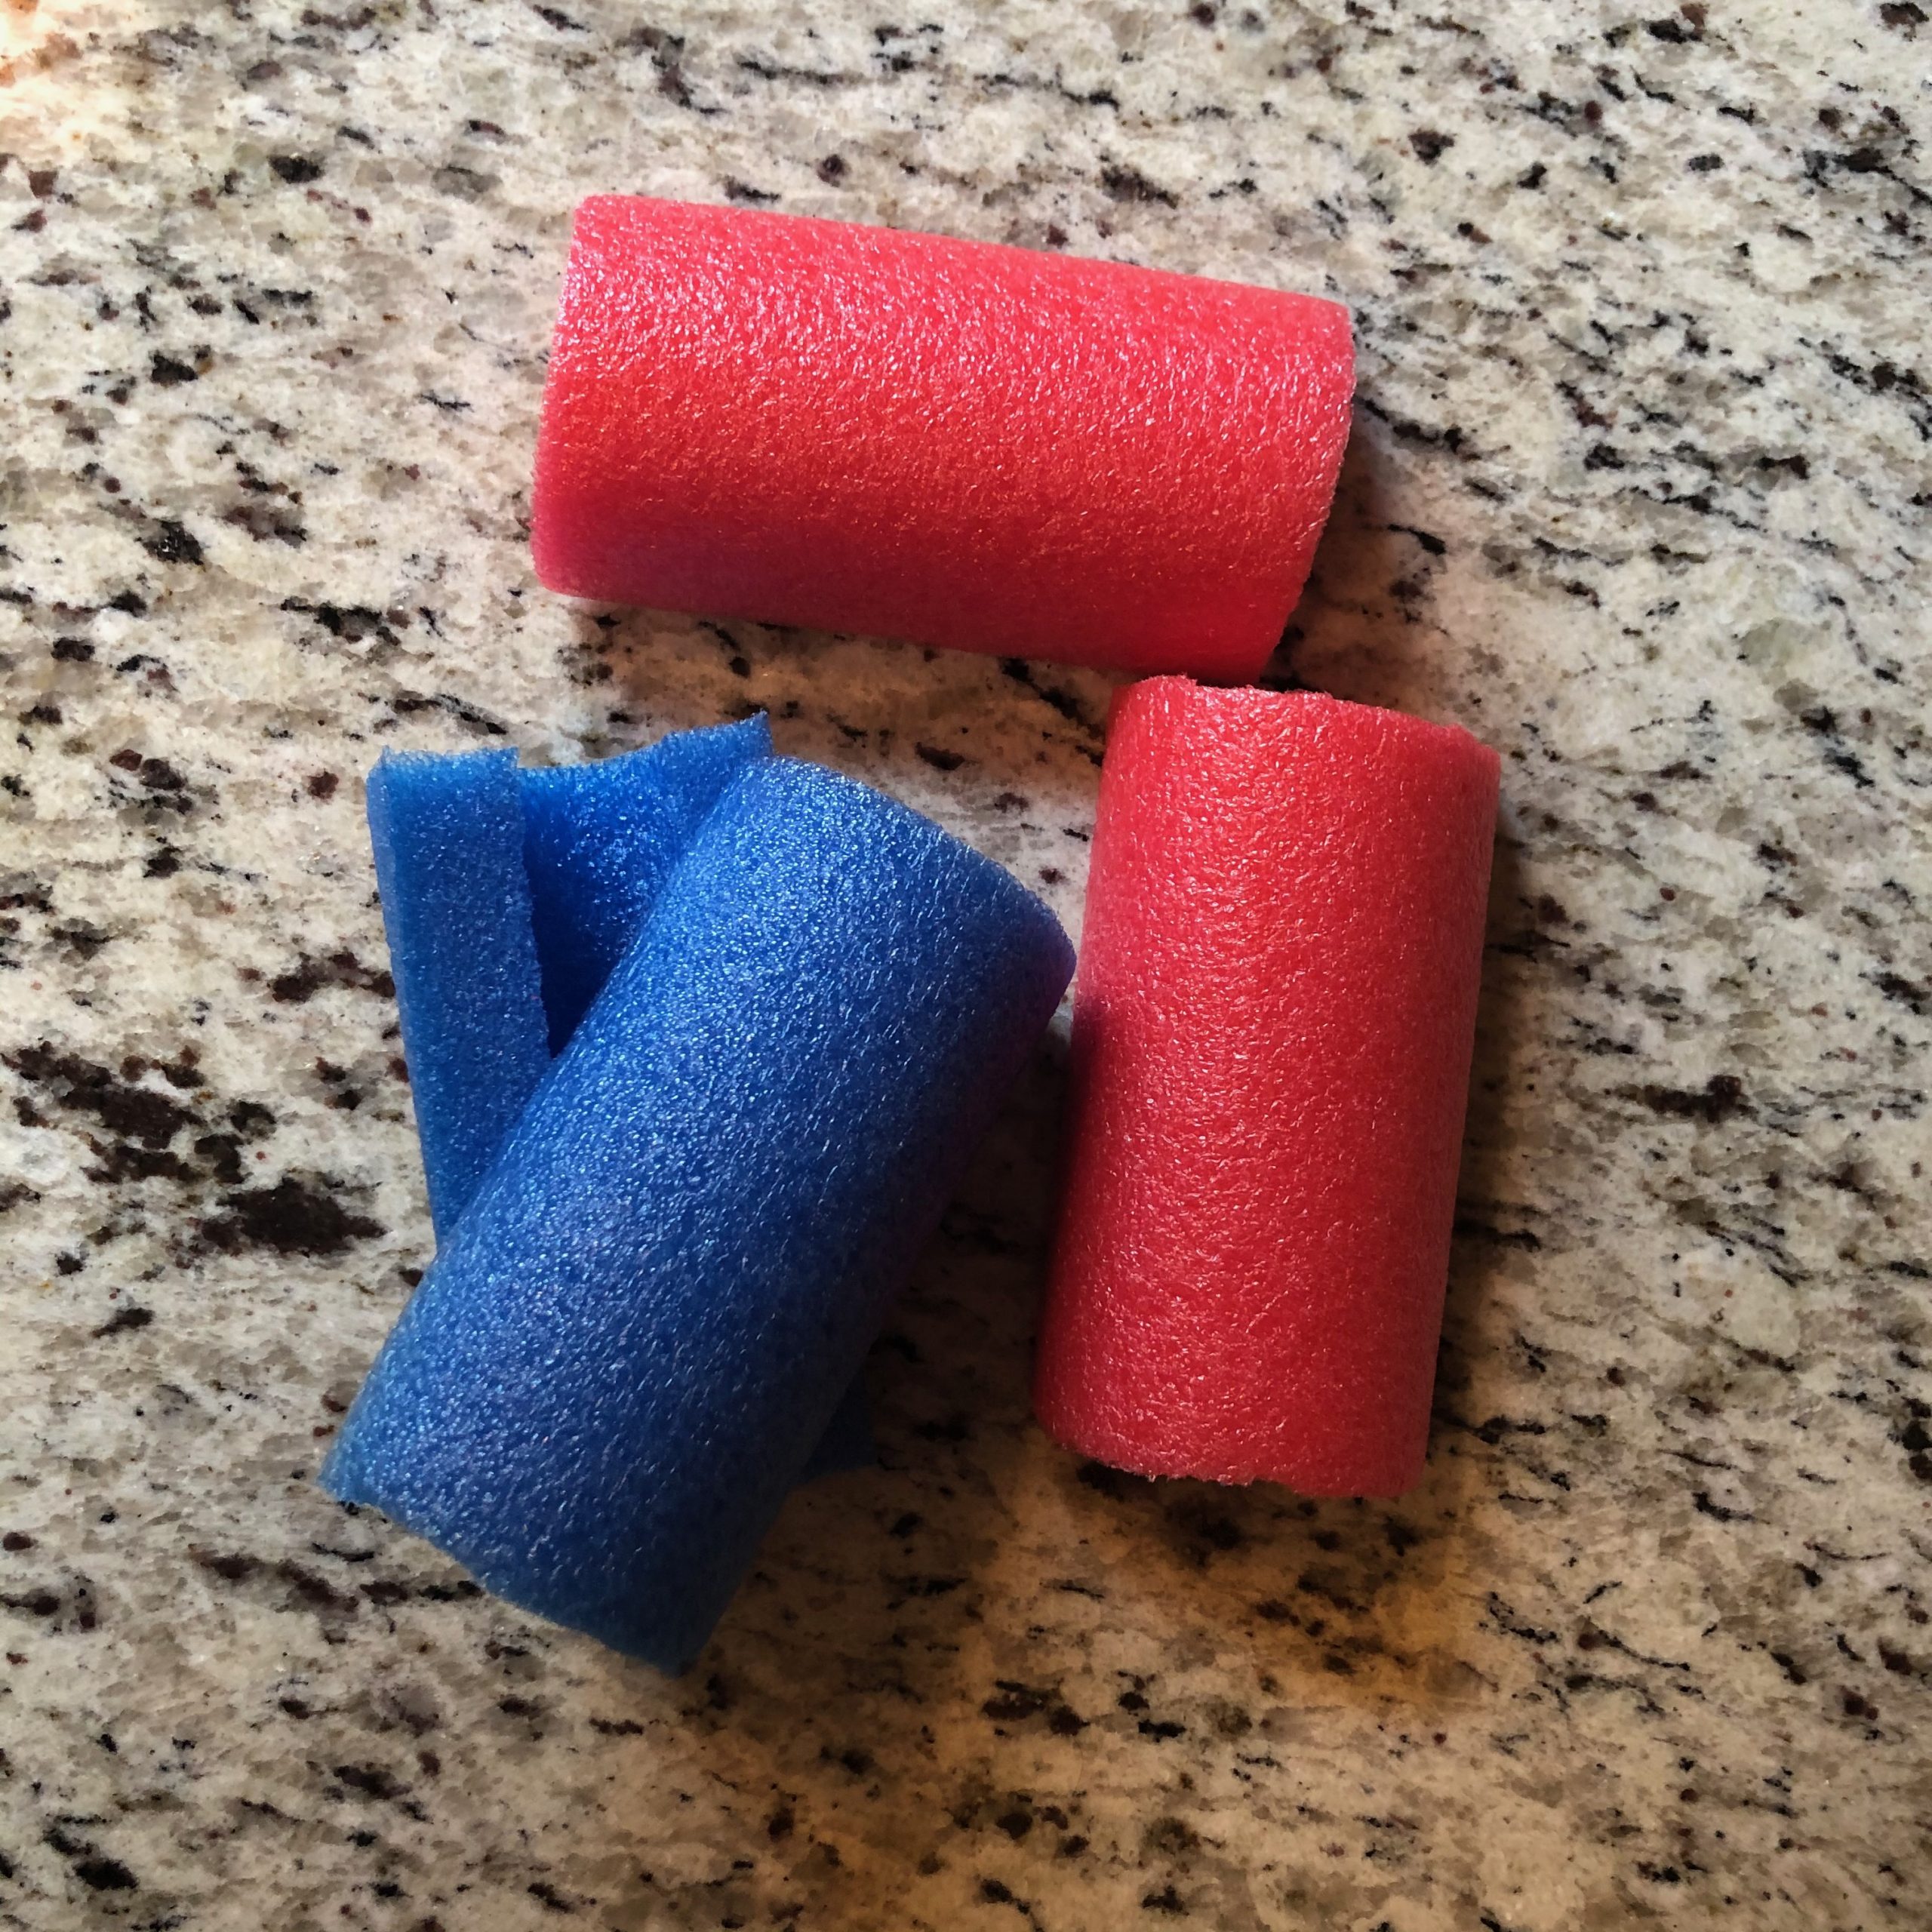
Sand Blocks
I love using sand blocks in music but the challenge is that the sand paper wears easily and they loose their effect quickly. David Row, from MakeMomentsMatter, shared a post on his Instagram a year ago about using cut up pool noodles as sand blocks! The sound is the same (maybe better) and it’s instant multiple instruments! I bought 20 pool noodles from our local Dollar Tree. Again, using my son as my test subject, we decided 4″ cuts were ideal for small hands. The silly thing is that the pool noodle measures at 47″ so we could get 11 sand blocks per pool noodle. The first noodle, I measured 4″ increments and marked the cuts with a Sharpie. That became tedious, so I took a thick piece of cardboard and marked 4″ on the cardboard and slid the pool noodle across and cut each piece. It was so quick! Once I had the 4″ cuts, I then cut each piece in half. Total cost per pool noodle sand block? 9 cents.
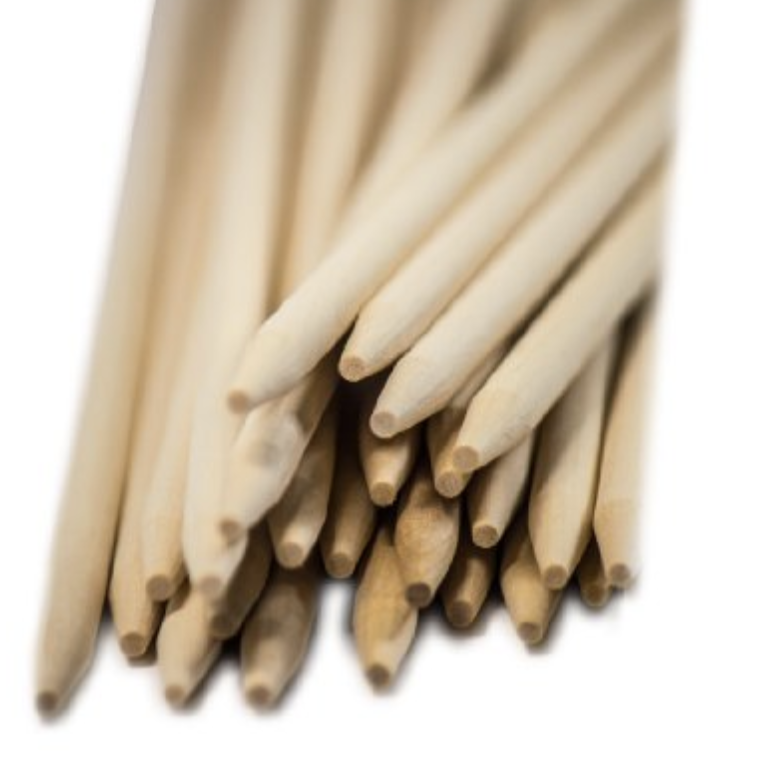
Rhythm Sticks
This was the one that took the most thought and research. I really wanted 6″ lummi sticks cut from wood dowels, but it was very expensive and required a lot of sweat equity in terms of cutting and sanding each pair of sticks. The closest thing I could find to wood dowels that was cost effective was corn dog skewers. Many are pointed, but I was able to find these semi-pointed (rounded edge) sticks on Amazon. The best part? I got 1000 for $22! Each student in my school will get a pair and the best part? Total cost? 5 cents.
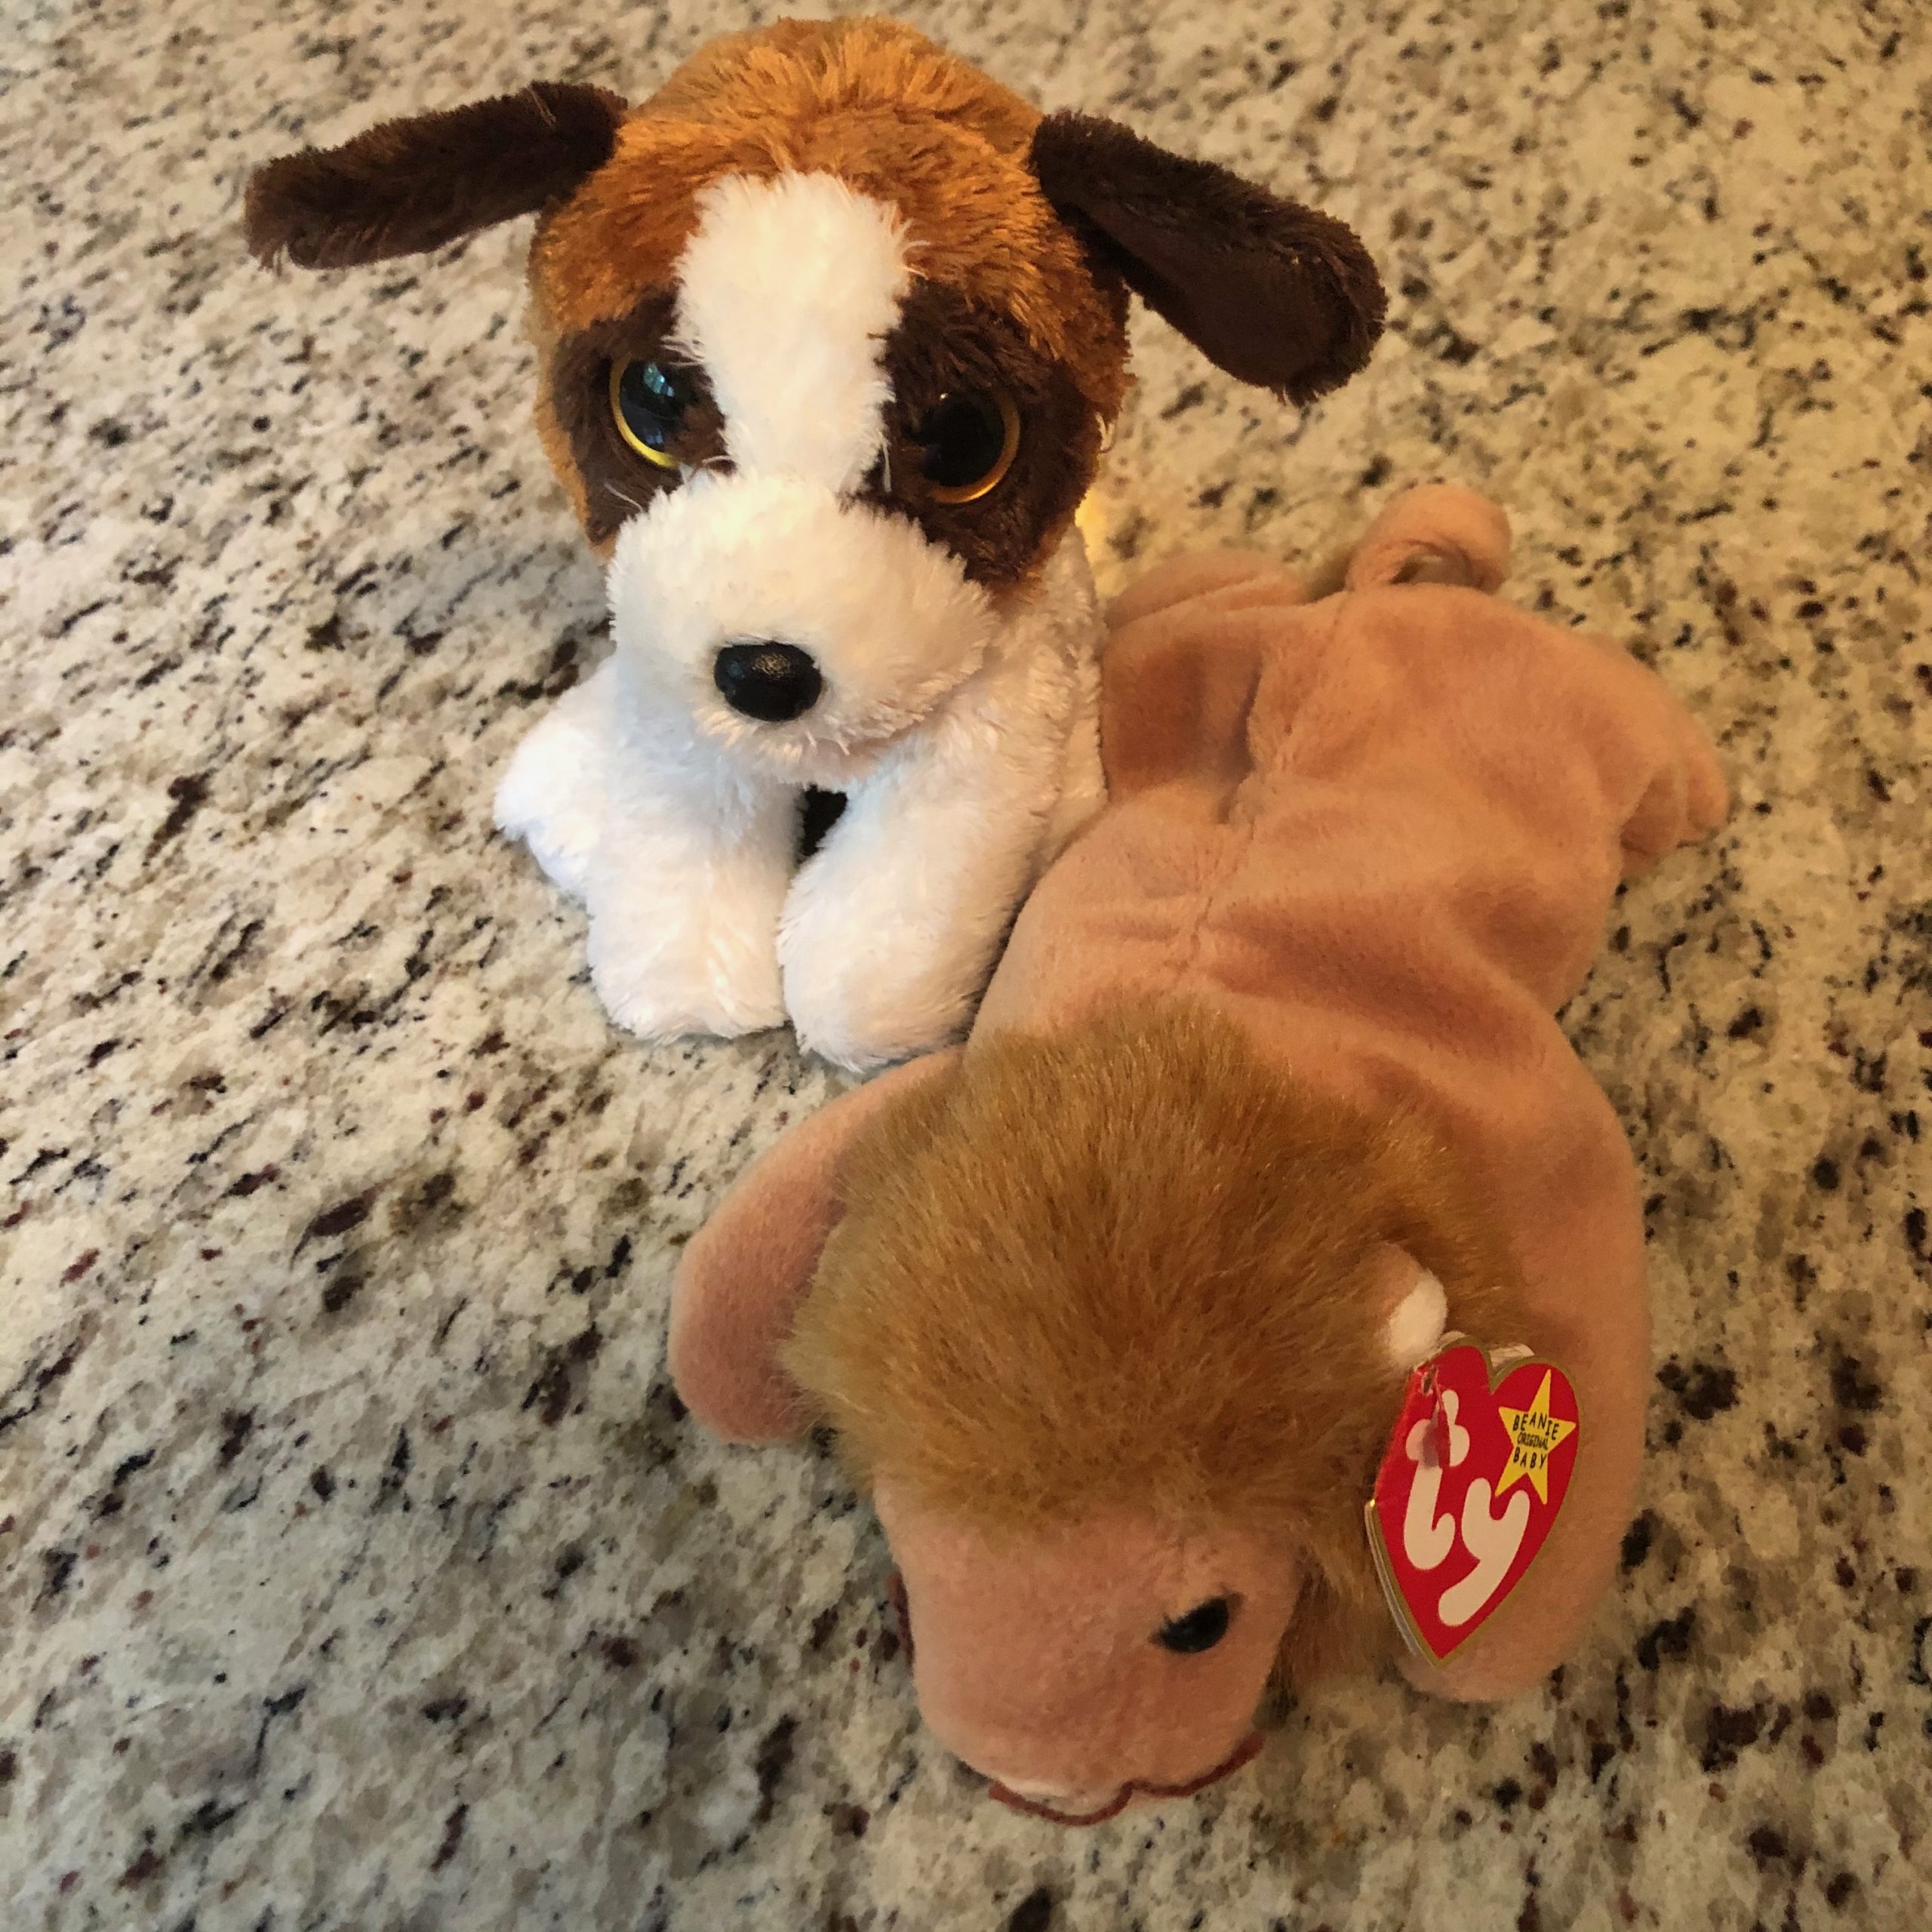
Bean Bags
As a Music Learning Theory practitioner, I use bean bags in my class for resting tone activities. Again, this is something I really wanted to include in my kit, but the cost was prohibitive. The solution? Beanie Babies. I know what you’re thinking – how is a Beanie Baby less expensive than a bean bag? Well, the reality is that many of my students have Beanie Babies or other small Ty stuffed animals at home. I also went to my local “Buy Nothing” and “Free” Facebook groups and asked for donations of Beanie Babies. I had over 150 donated. All I had to do was pick them up and wash them. Students will be given the option to bring one from home or choose one from my bin to use throughout the school year. The other benefit to the Beanie Babies is using them as “Beat Buddies.” Total cost? FREE.
Final Cost
So what’s the total cost of my individual kits? 34 cents each. Still don’t think you can do it? Think outside the box! Ask for donations! Talk to your community members or PTA for support! You might be surprised at what donations you might get! I would have never believed someone would gift me 150 Beanie Babies, but they did!
How to Use the Kits
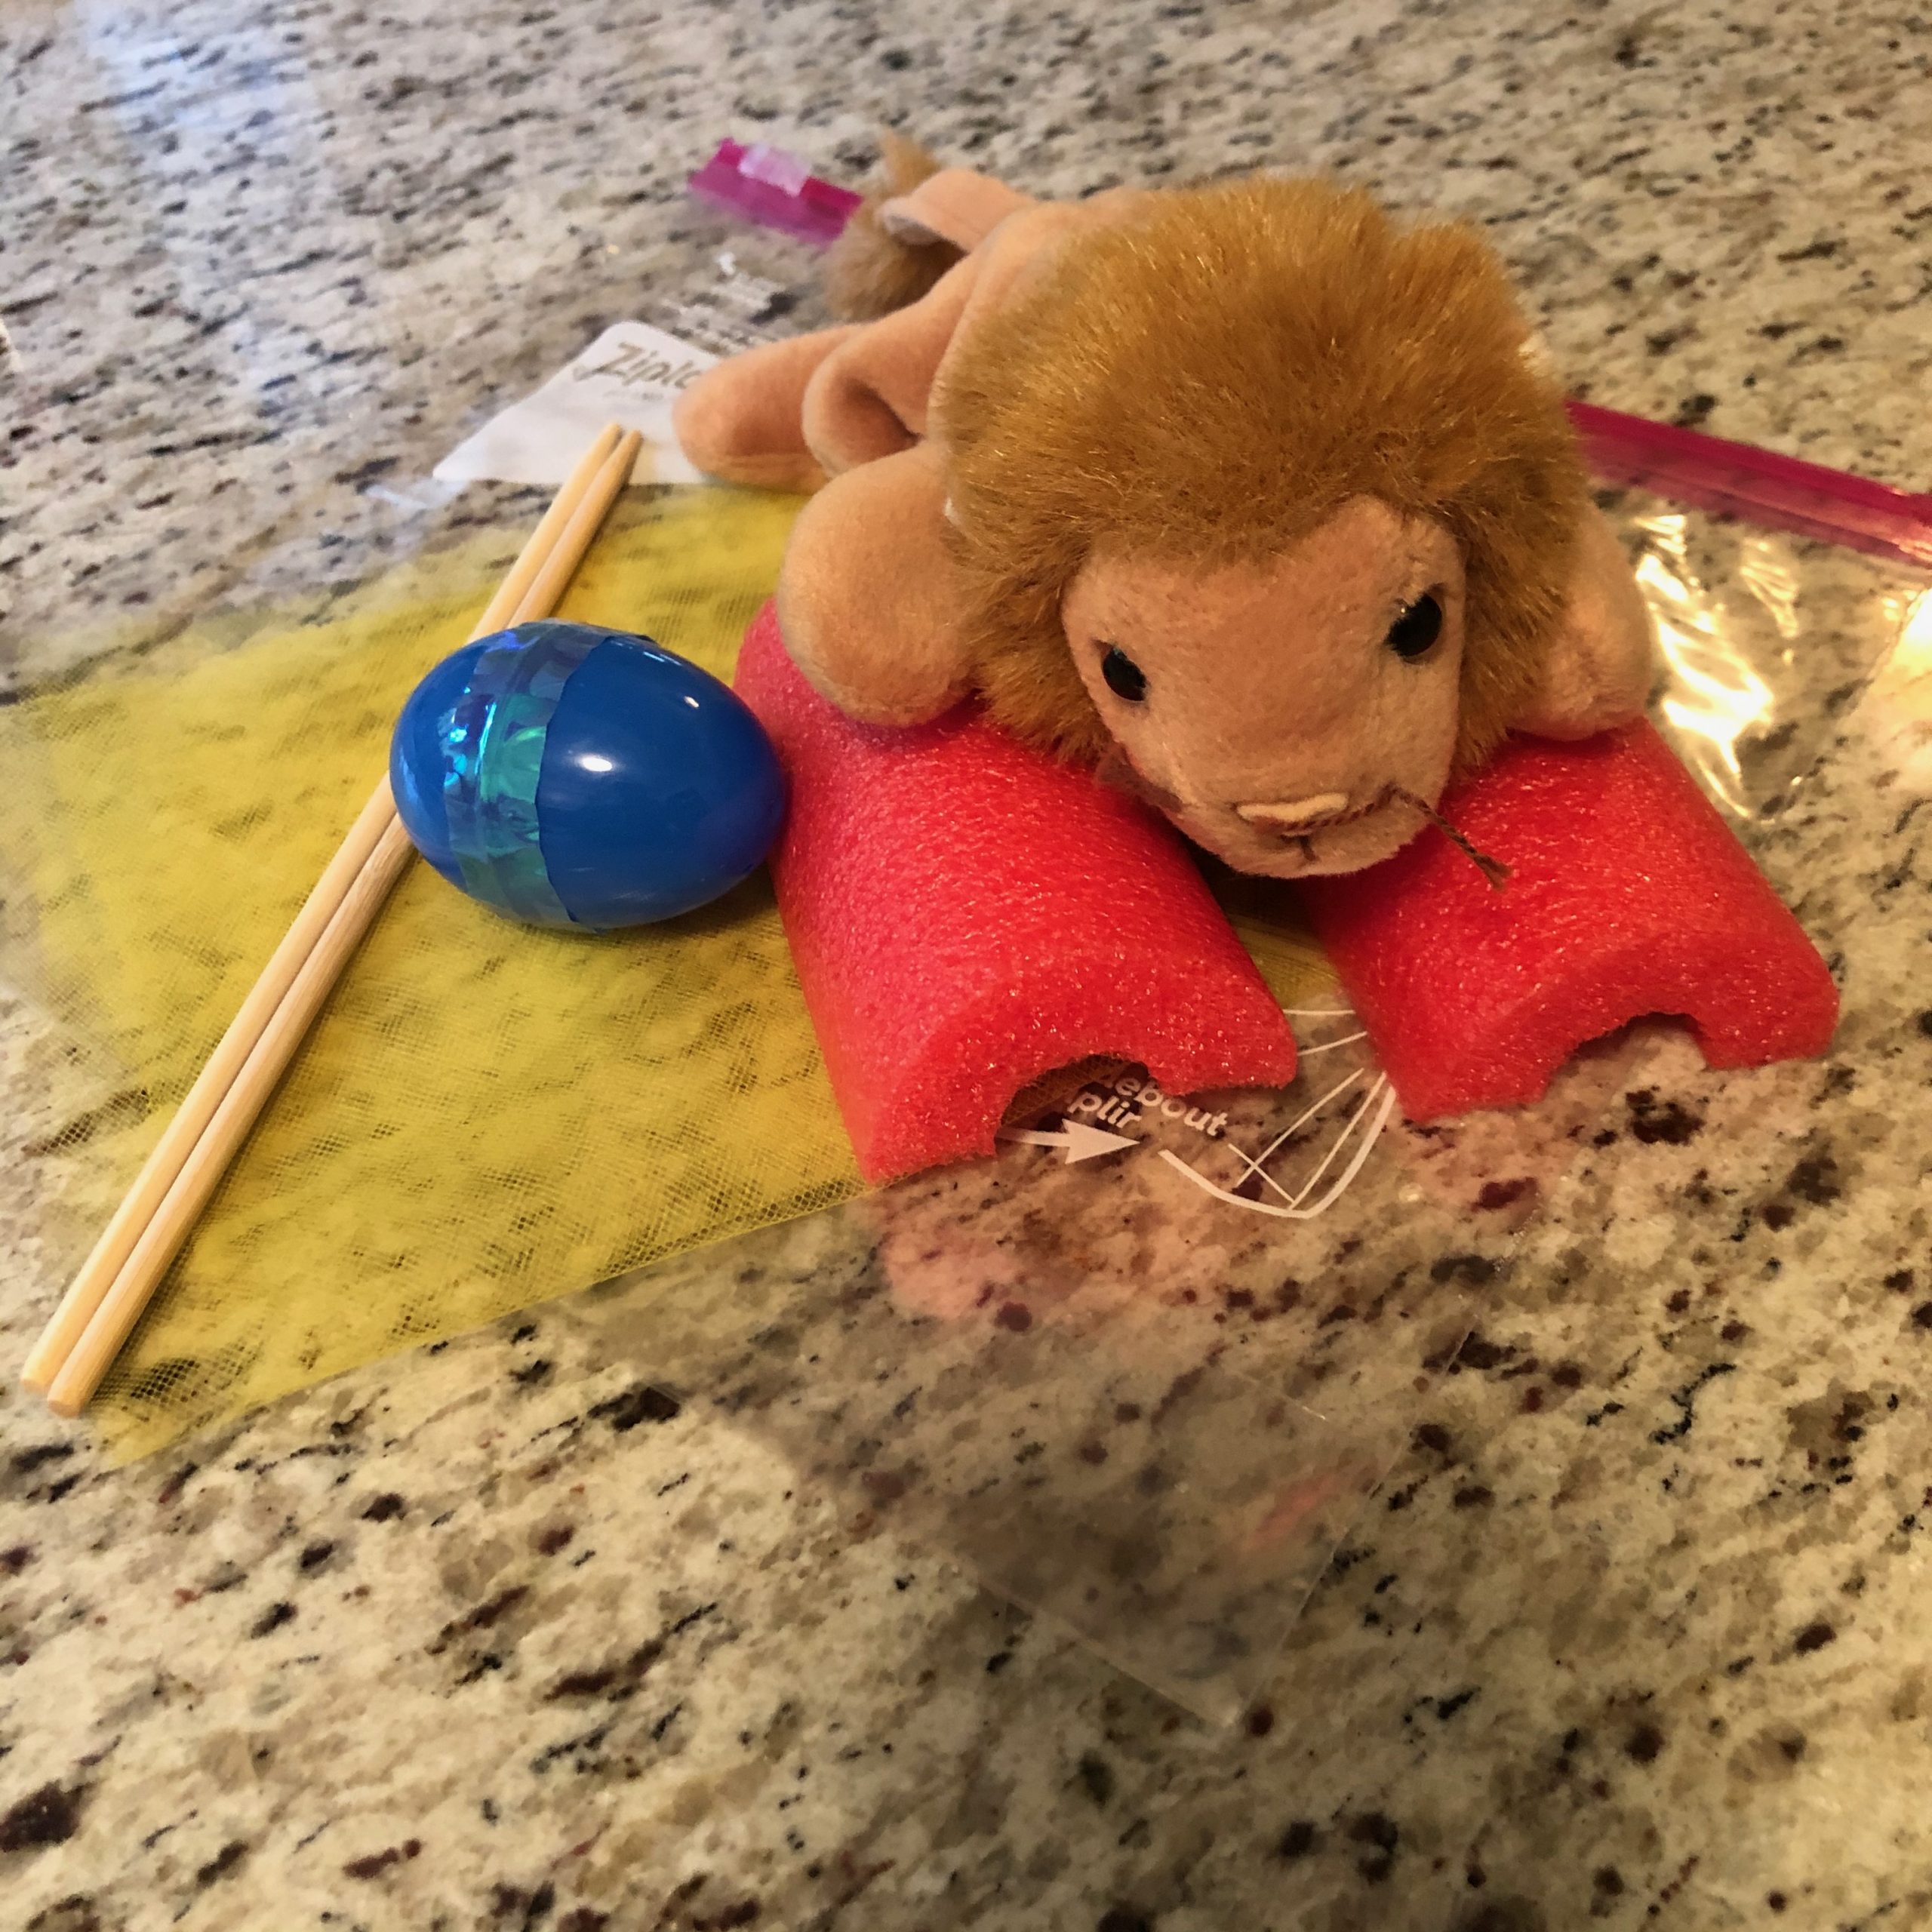
Now, to be honest, my intent in making the kits was to have them ready if (or when) we have to go fully remote. I want my students to have access to all of the things we would use in our music classroom at home. I haven’t received a directive from my district regarding the sharing of materials and supplies. Nor have I received information about teaching in my classroom vs. teaching in student classrooms. (We don’t return back to school until early September.). If I am teaching students in their classrooms, I most likely will use the individual music kits with students.
Each kit will be stored in a Ziploc bag with the student’s name on it. The Target Dollar Spot has some colorful plastic rectangular bins that would be perfect for storing the kits in. You could even store them in the boxes that cases of paper come in and label them by classroom teacher.
The items I’m choosing the include in my K-1 Music Kits are based upon what I have available to me in terms of money and resources. You could add jingle taps or bracelets, googly eye hand puppets, plastic coffee cans, oatmeal canisters. or foam die-cut shapes of leaves, snowflakes, pumpkins, etc. Personalize them so that they fit your style of teaching!
Want to see the letter I’m sending home with parents? You can download it here.
Related Posts


Thank you for simple and inexpensive ideas to equip a large number of students to make music.
Thank you for sharing these great ideas!
I’m late to the game on this, but thanks so much for sharing this! your methods seem much more cost effective than others and to be a much more reasonable amount of work than other suggestions.